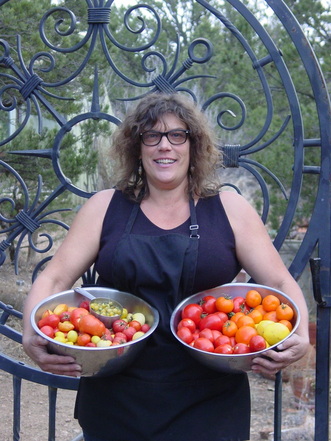
Okay - I am going to lay this on you - right in mid-stream. I am finally on the other side of the great tomato seed project - although it's not really over yet. I am preparing to sell some, donate some and of course - sow some. I still have a few varieties rolling around the house. Principe Borghese is hanging in the coat rack, ripened and covered in coats. The cats bat them around the house - ripened or not. Its been an amazing experience.
So - I thought I'd show you some steps.
Right now I am in the process of sorting, combining and crumbling the hundreds of seed cakes waiting in their coffee filters.
Since I took many batches of tomatoes off the plants throughout the season, this makes for many small batches of seeds that need to be combined. I also took the over-ripe, rotten tomatoes from beneath neglected plants and saved their seed too. This stains the seed a little - leaving it slightly darker than seed saved from a perfectly ripened tomato. In nature, the seed goes through the rotting and fermenting of the decomposing tomato and is stained much darker than what you usually see in a seed packet. I kept it separate until I spoke to one of my seed mentor's - thank you Wes McDorman, and realized all was well - variation in color is just that - color and does not affect the seed itself.
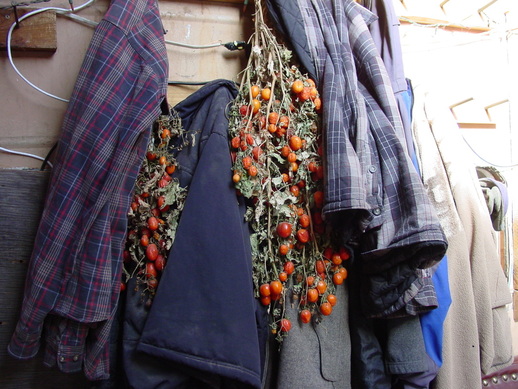
Principe Borghese hanging in the coat rack and raining down on the couch below.
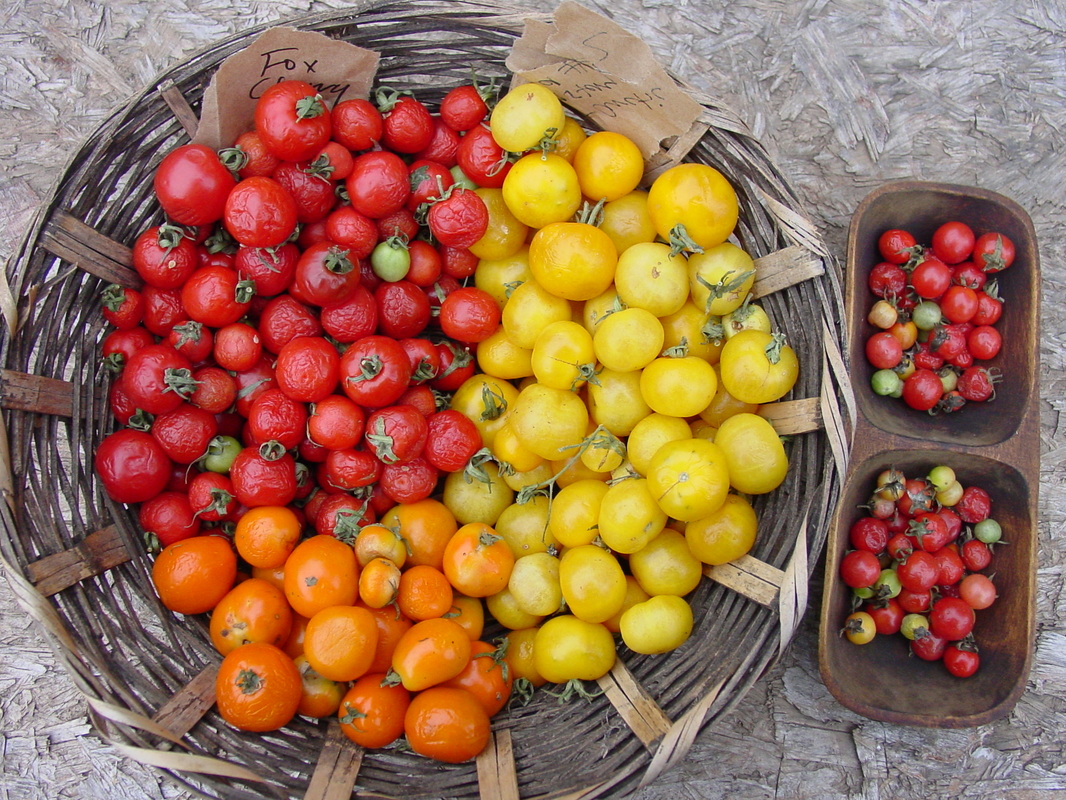
I love to pose them, meet Wendy, Ida Gold, Peacevine and Fox Cherry.
| 
Meet The Golden King of Siberia, Nebraska Wedding, Rio Grande, Crimson Sprinter.
|
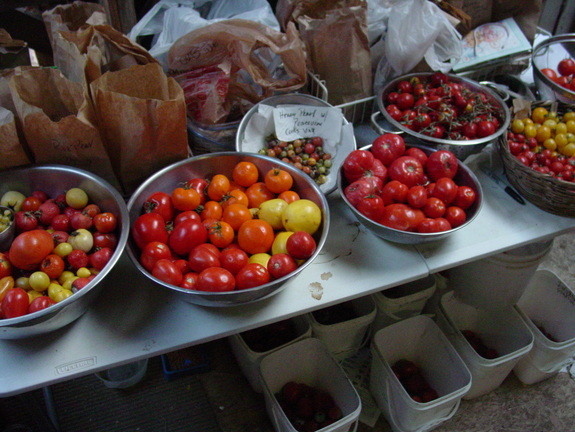
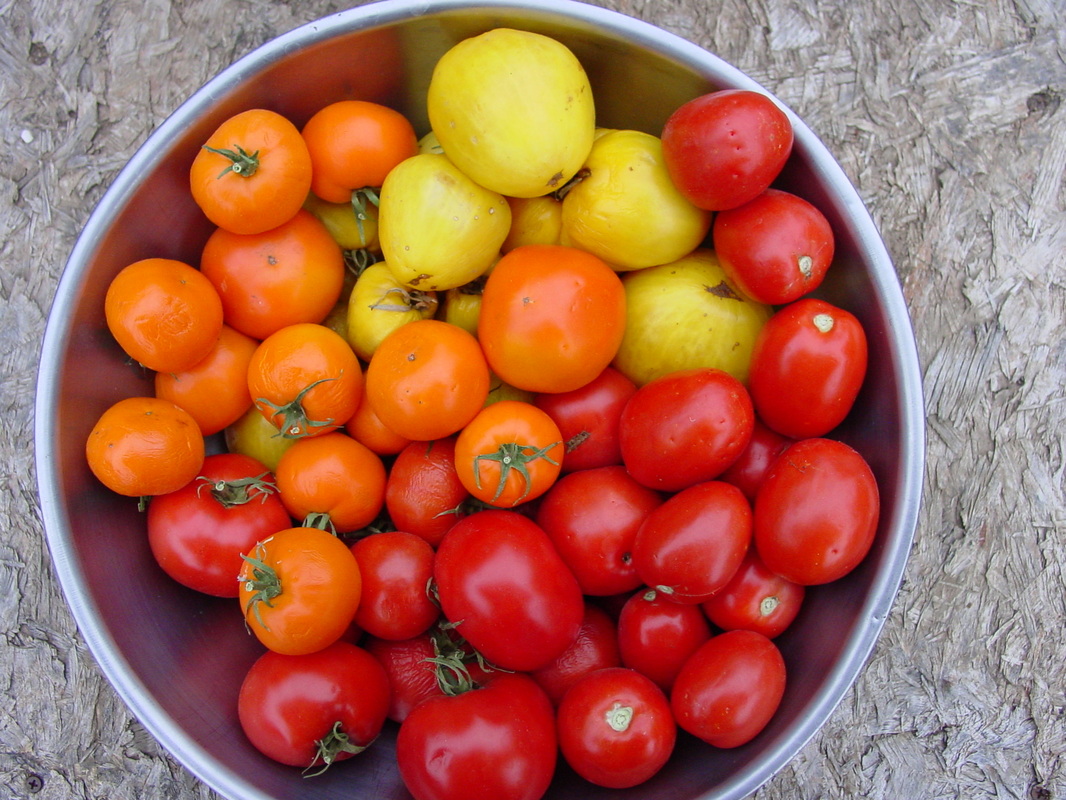
It all starts here - piles and piles and bucket and buckets. It's a daunting sight in the living room, and there was more - before...
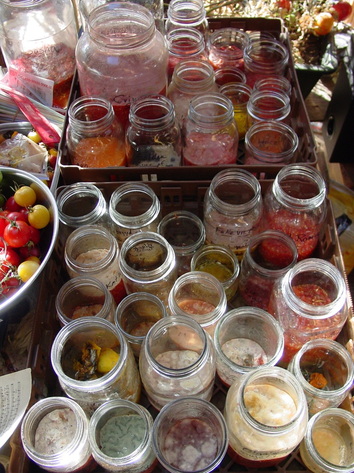
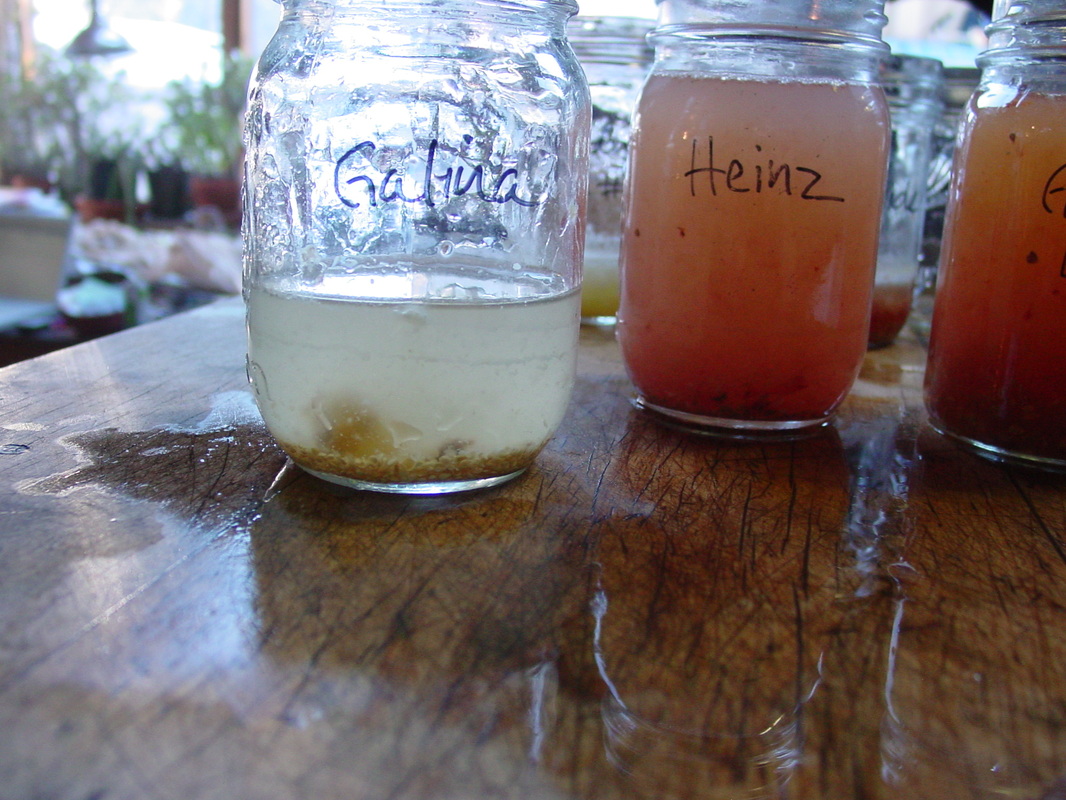
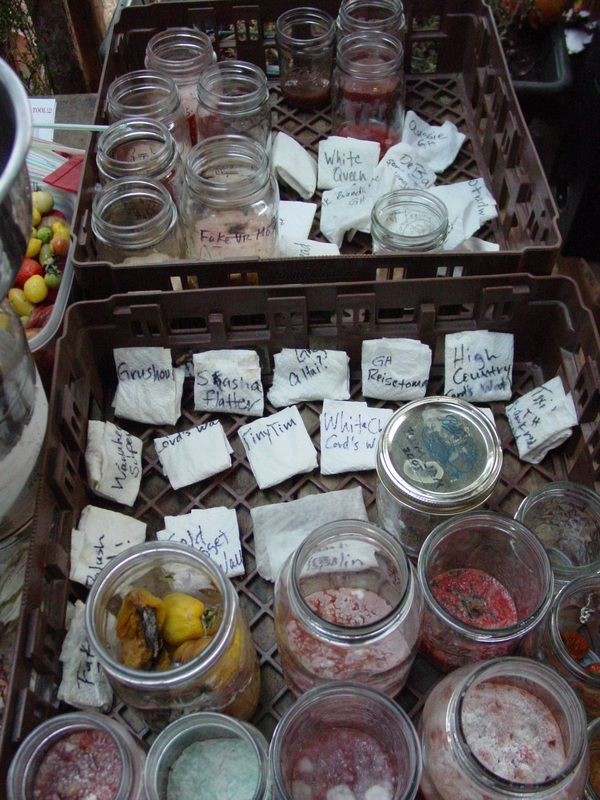
Fermenting in jars.
Fill the jars with water and let settle very briefly before pouring off.
| 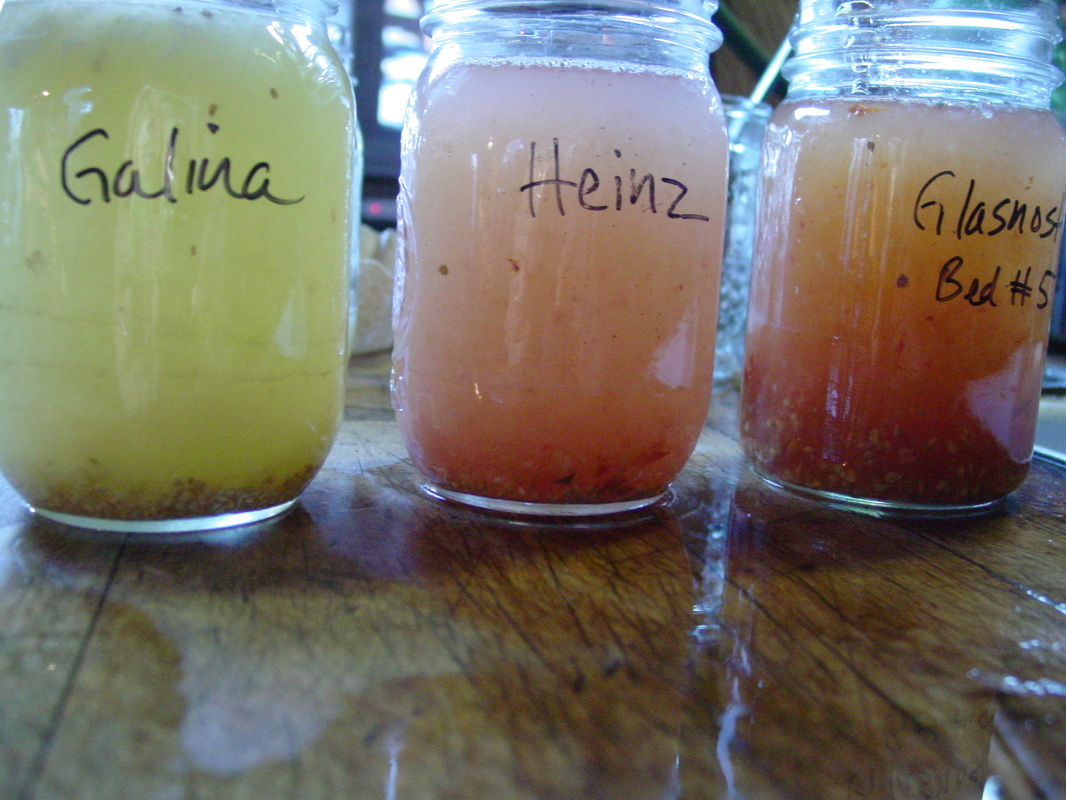
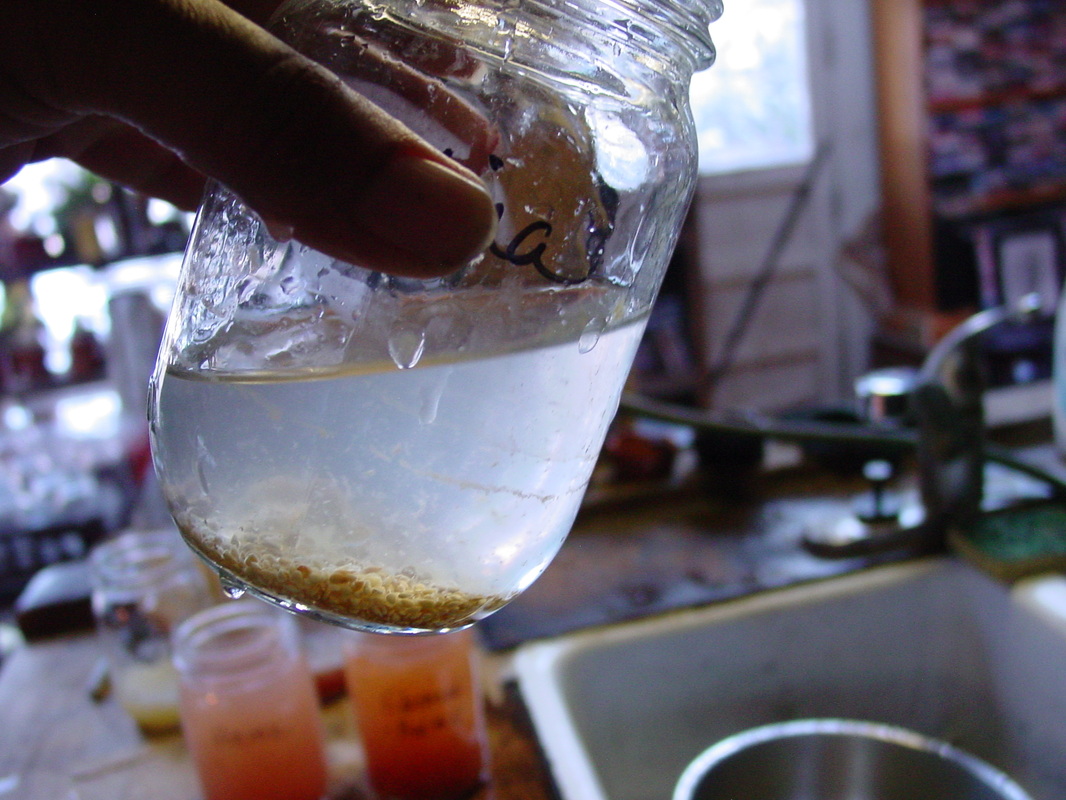
Seeds on the bottom, debris in the water.
|
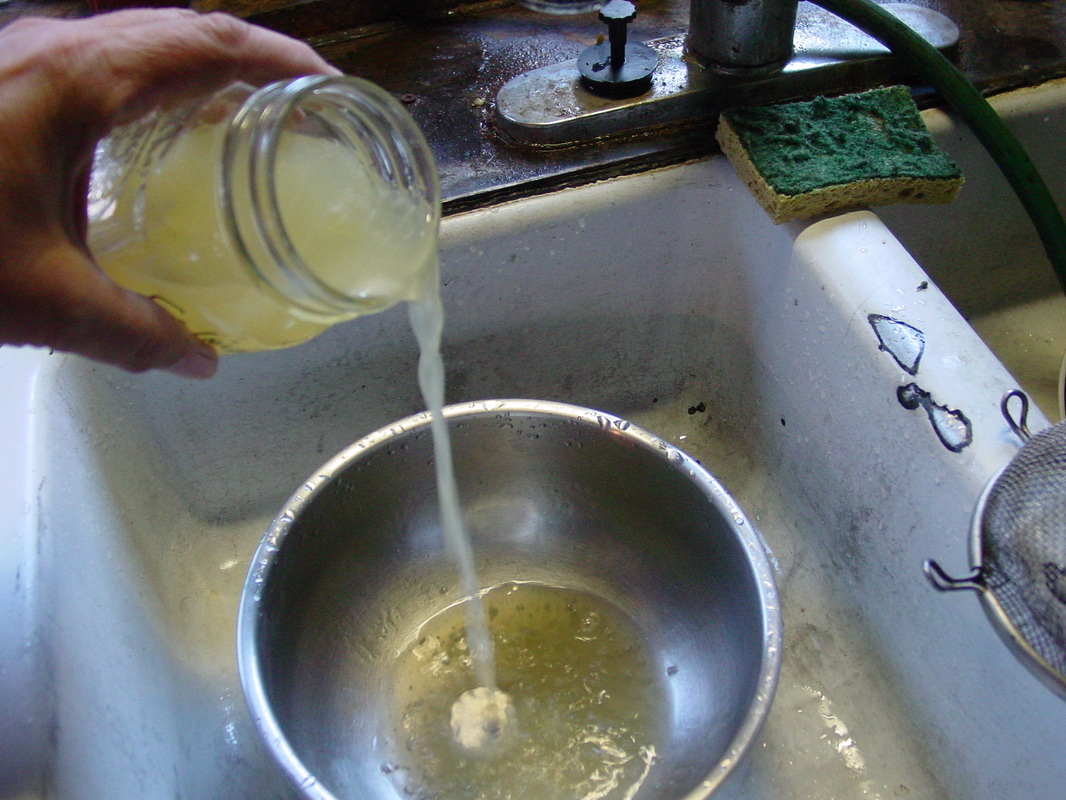
Pour off the gooey water, leaving the seeds behind.
| 
Refill and let settle - I used less water this time.
|
Rinse repeatedly until the water is clear and all the seeds are clean.
| 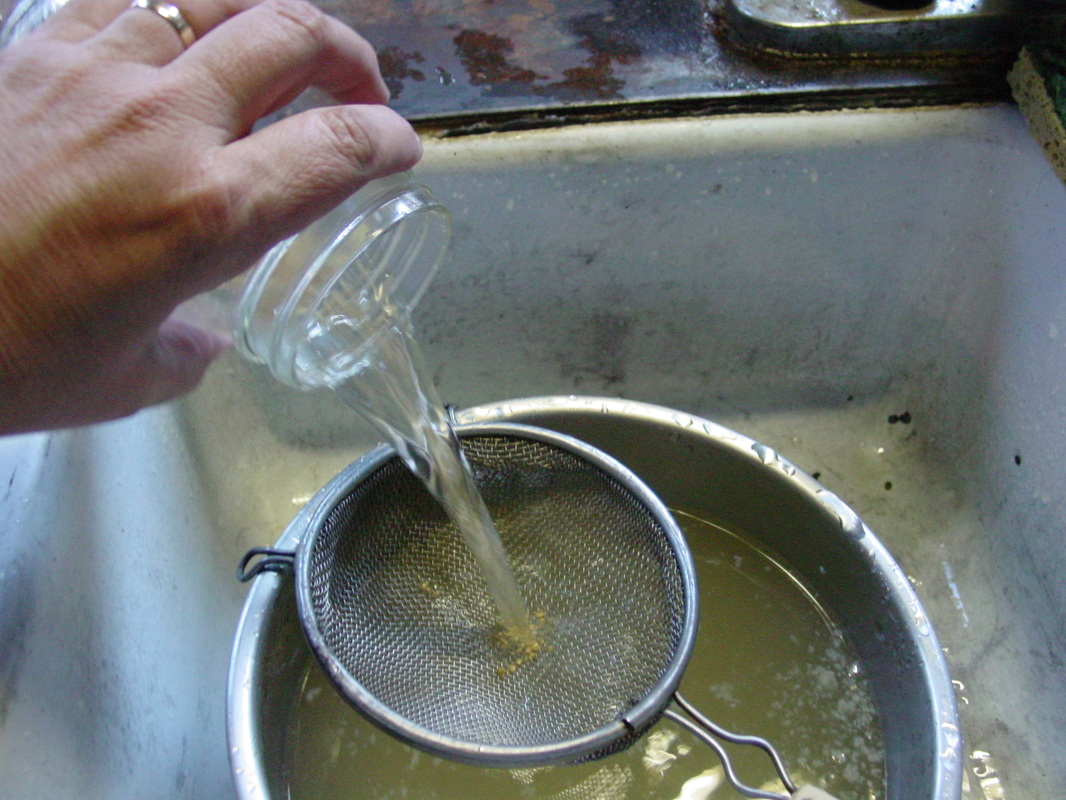
Pour it all quickly into a sieve.
|
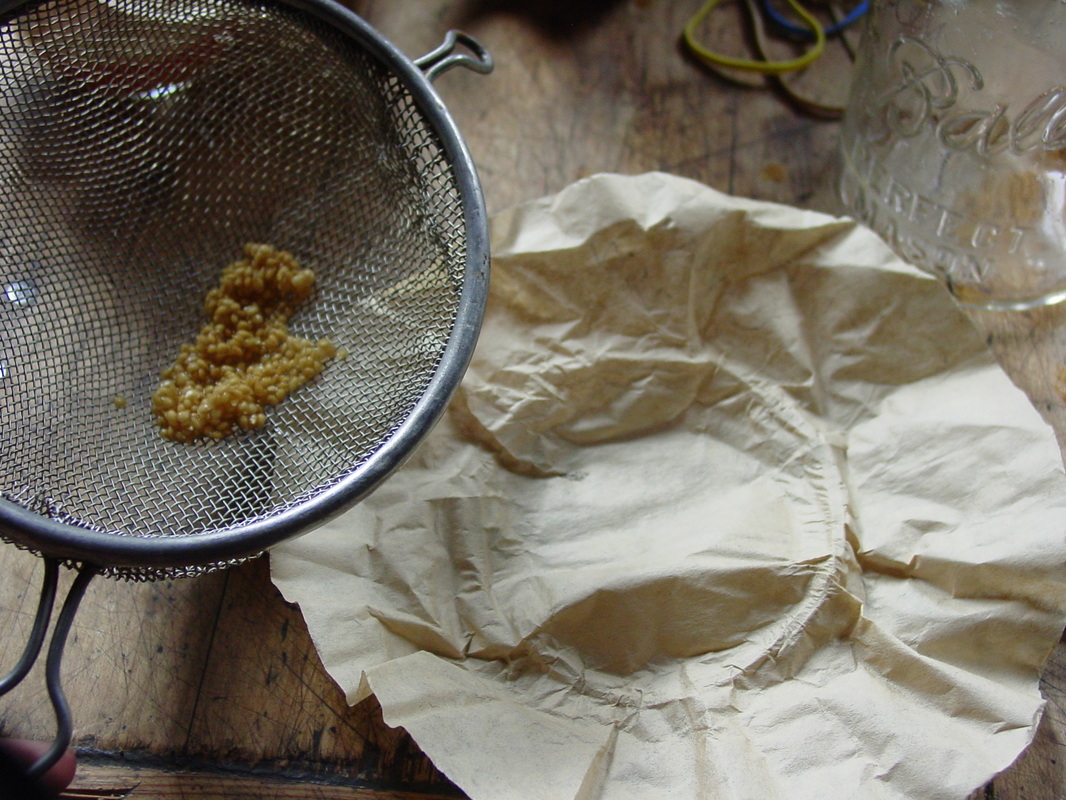
Use a coffee filter or paper towel to dry the seeds in.
| 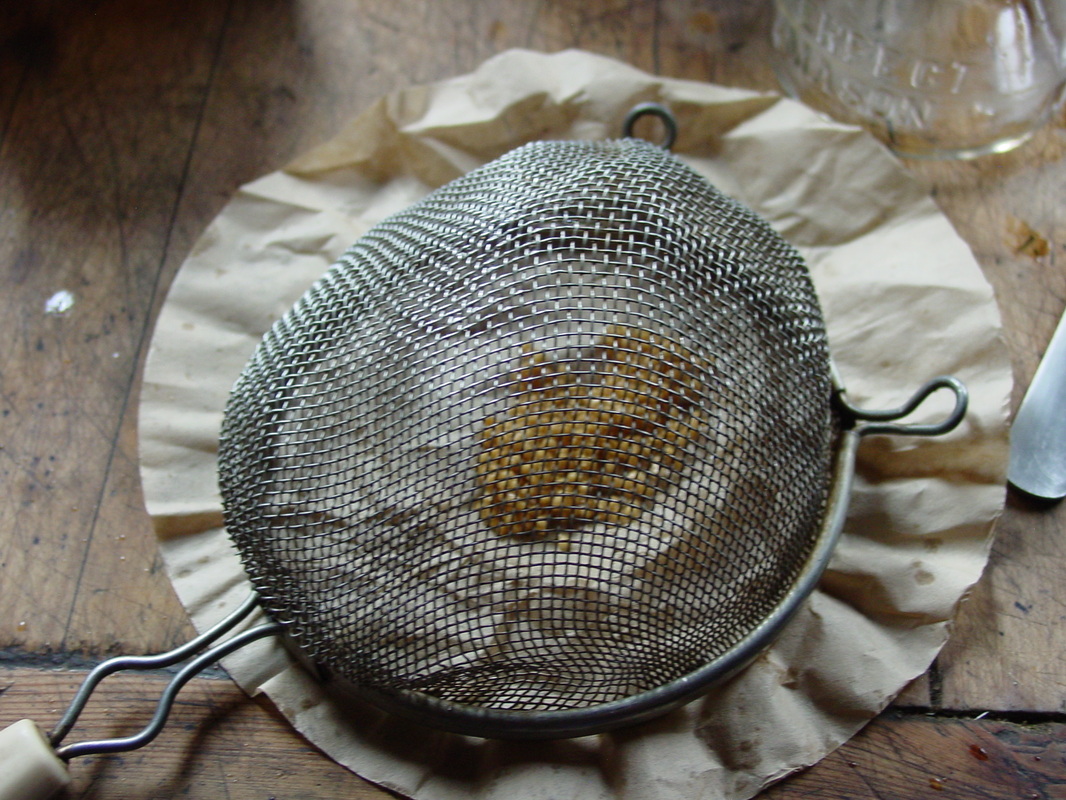
SMACK!
|
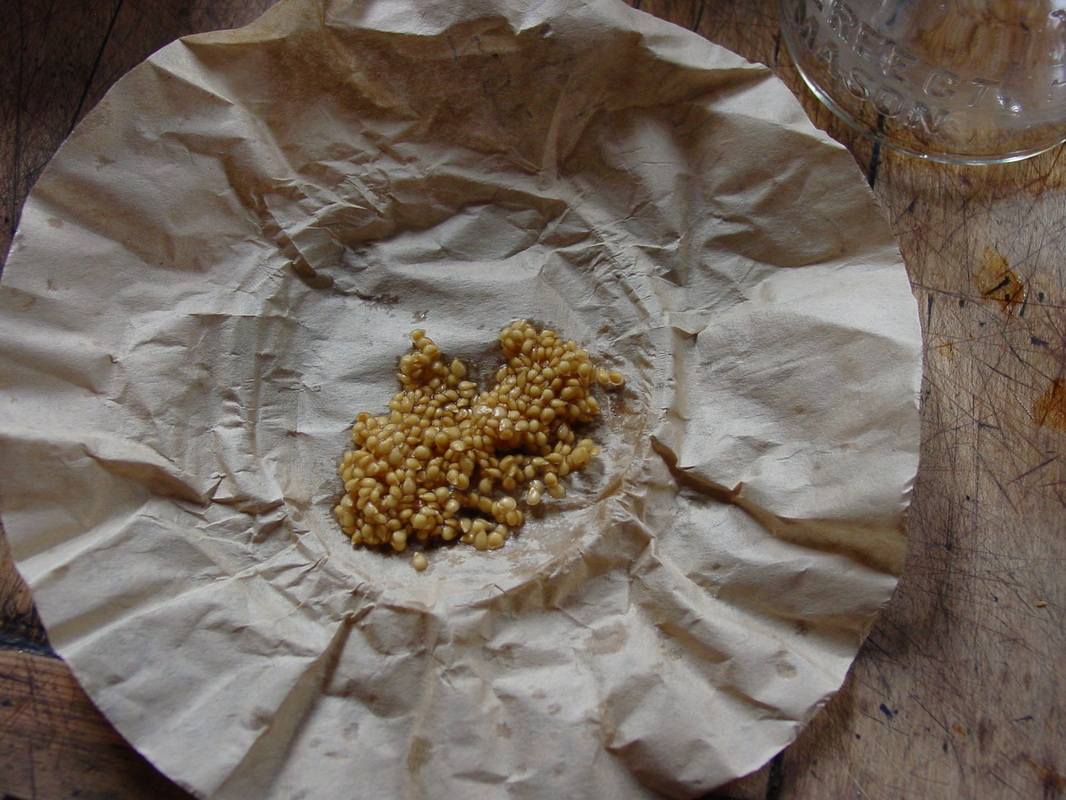
Ahhh. Glory.
| 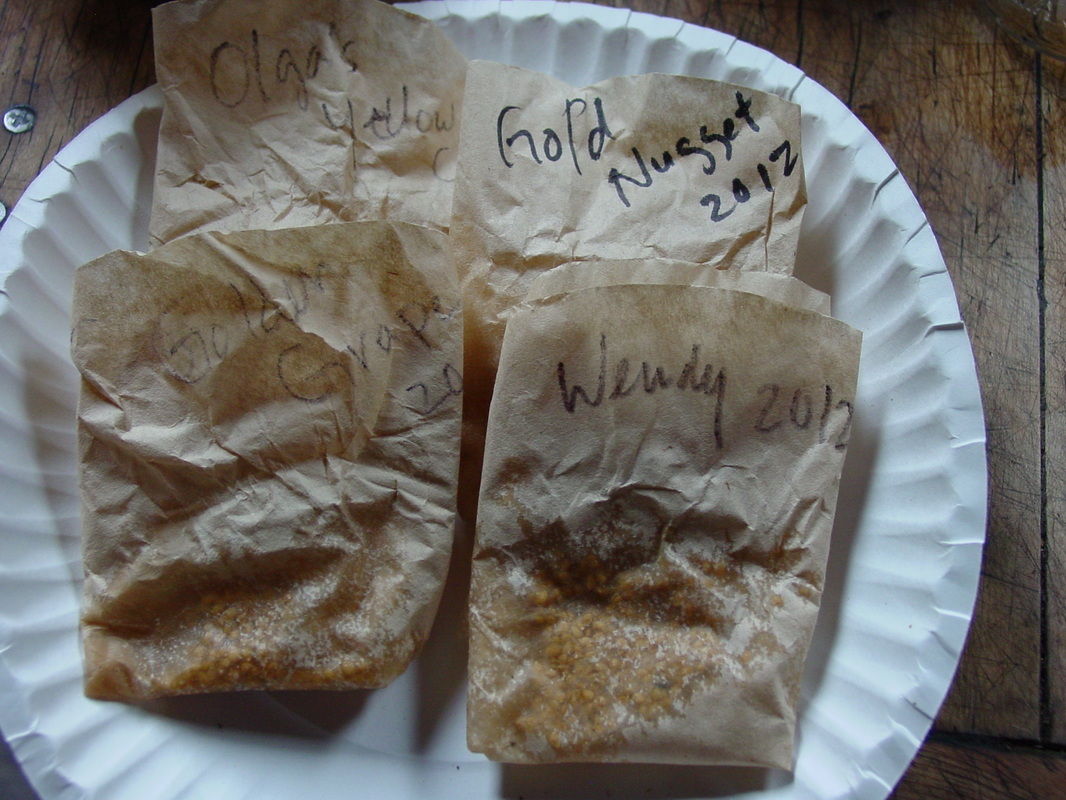
Label and fold.
|
Making a dent, out of coffee filters, switched to paper towels.
| 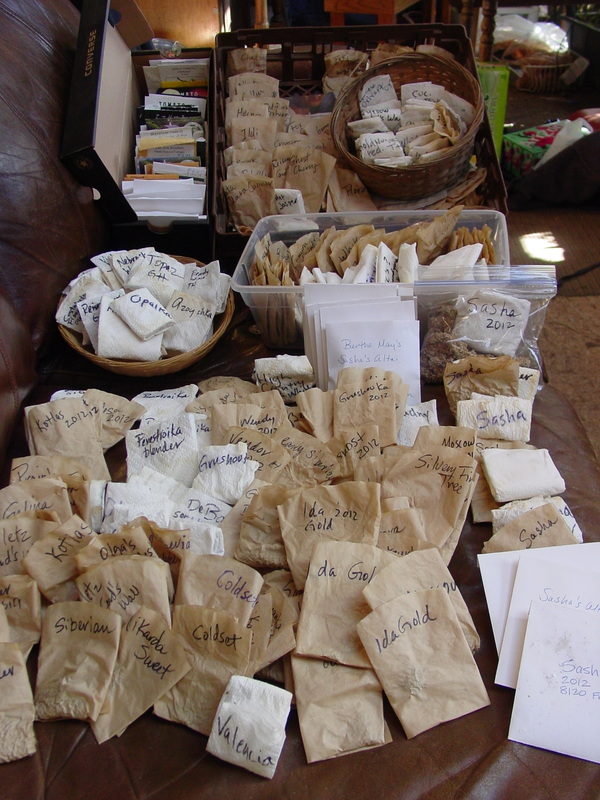
Many, many seed cakes - ready to be packaged. The ones in front are all Seeds Trust varieties.
|
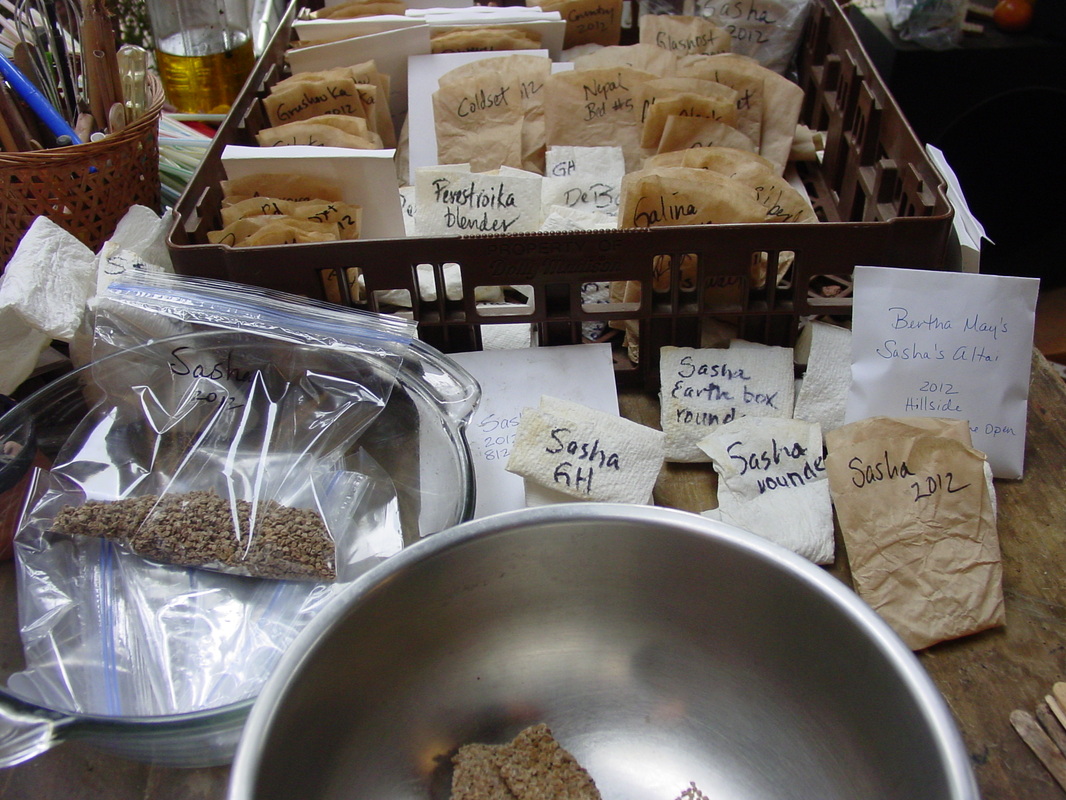
I began with Seeds Trust's seeds, grouping all the Sasha's to start crumbling.
| 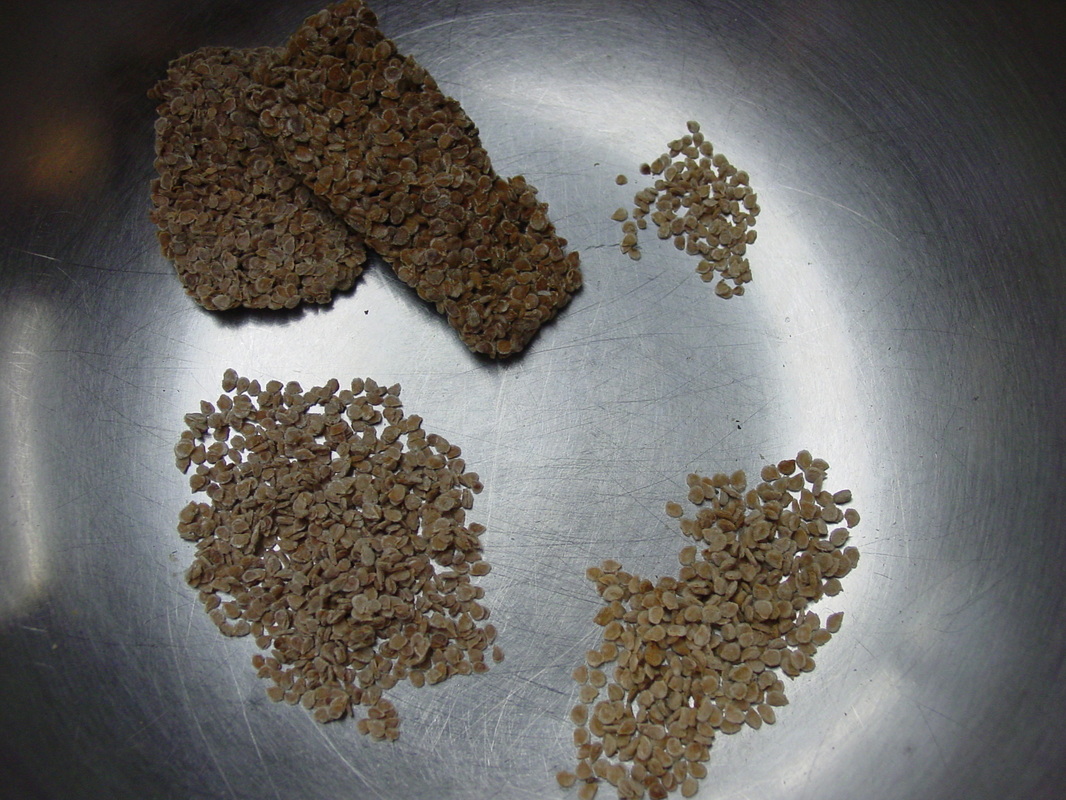
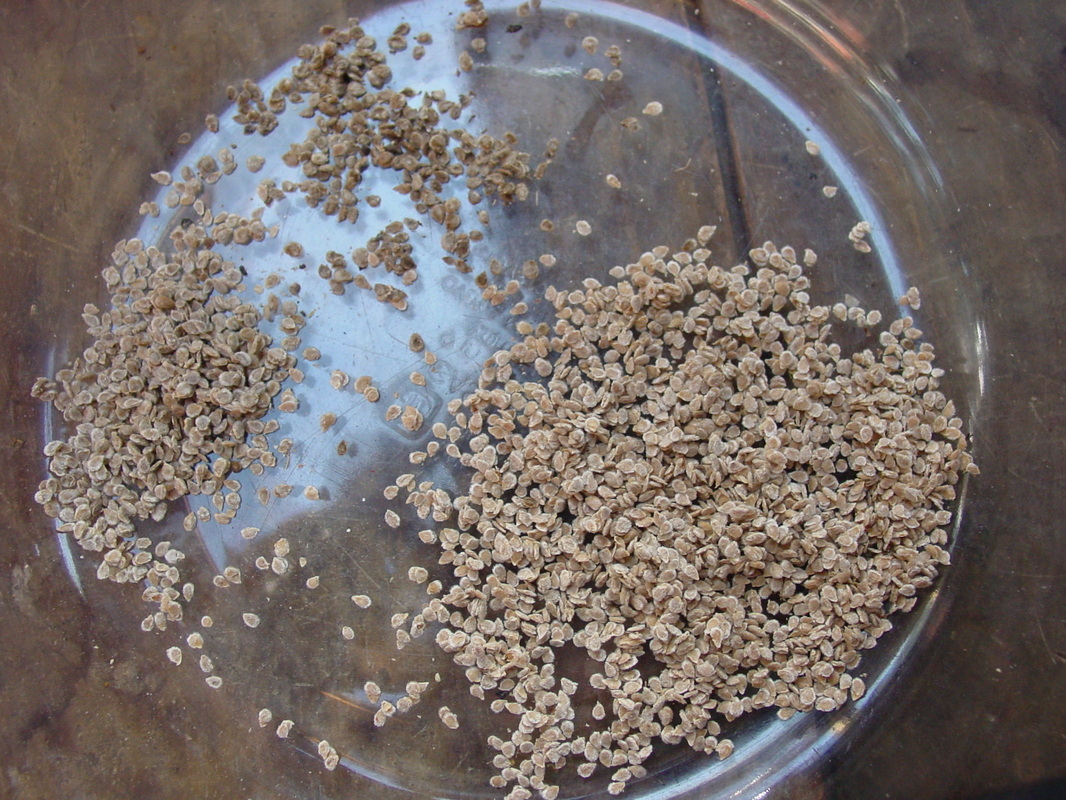
Each batch is slightly different, like the tomato(es) it came from. Notice the size and color variation.
|
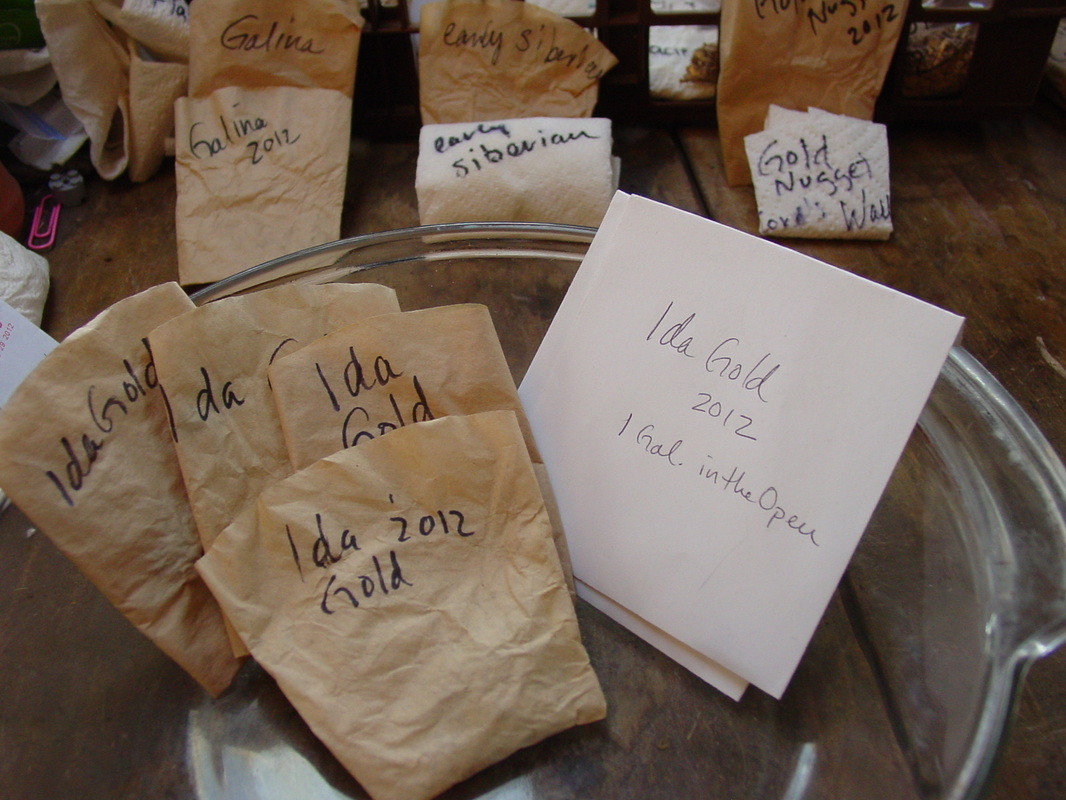
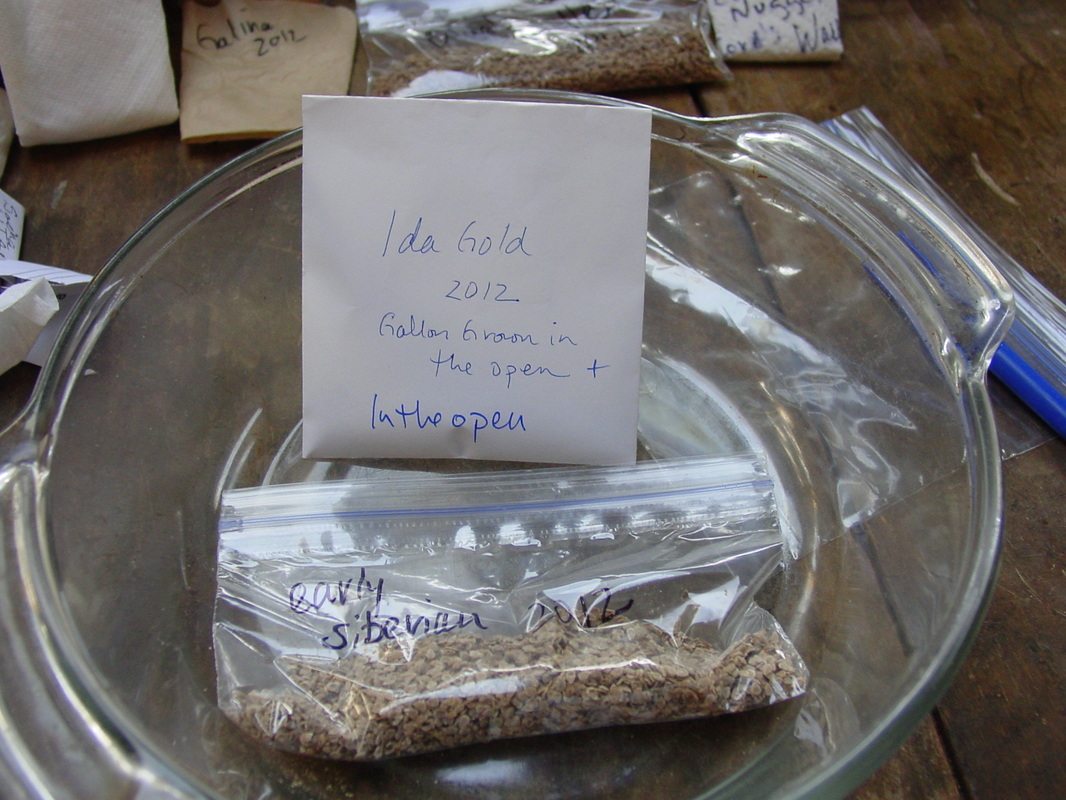
I grouped Ida Gold's together and lined up some more.
| 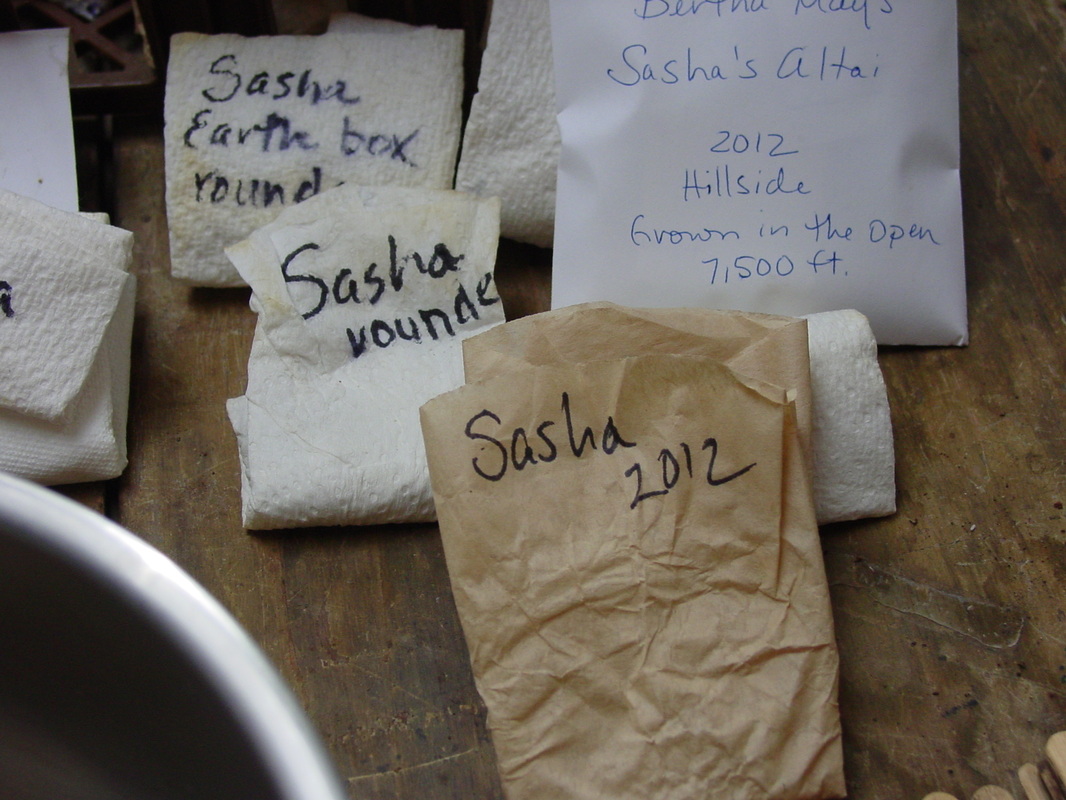
Sasha's - with notes on the year, where or how it was grown, even characteristics.
|
Different but the same.
| 
Combine their strengths.
|
Pack them up!
| 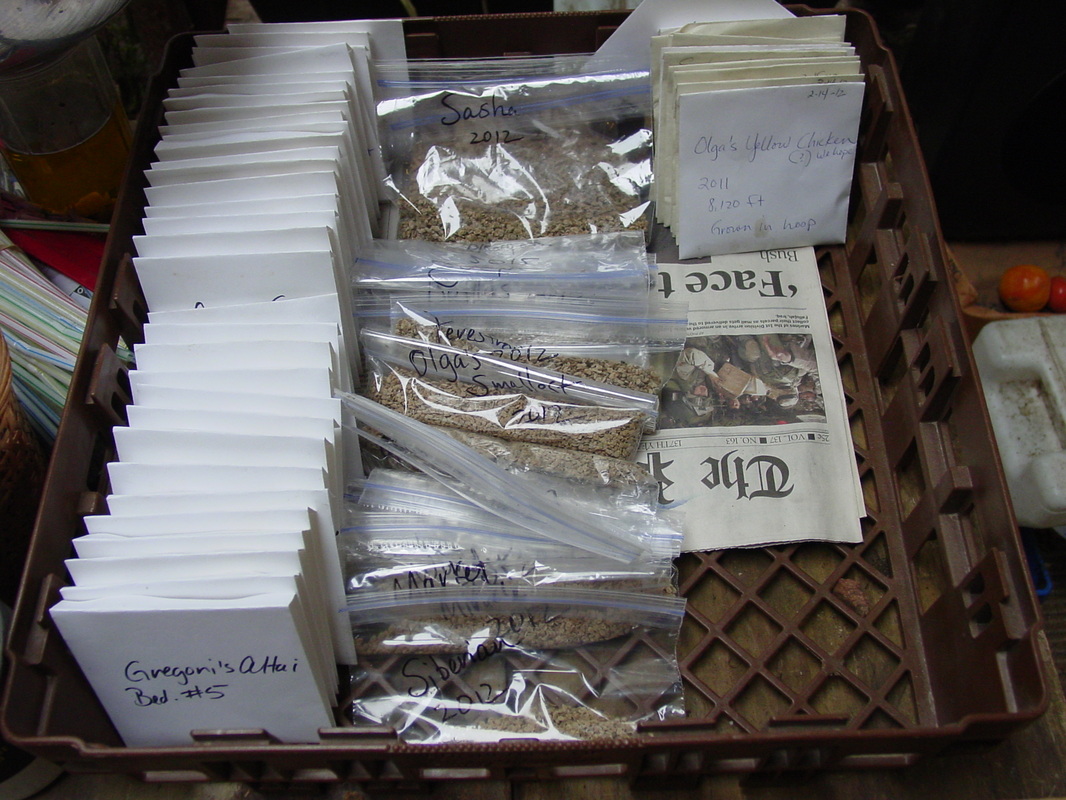
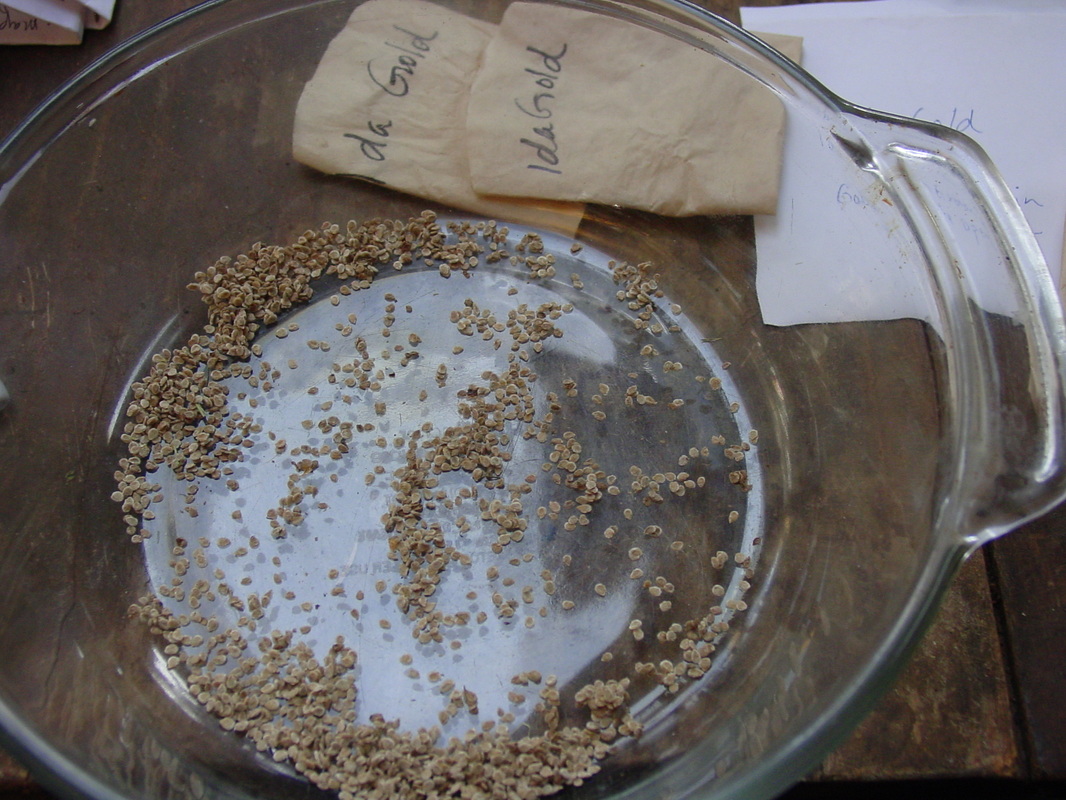
Left two rows are the result of all the Seeds Trust seed - ready to be germ tested.
|
Germination Test
What? It's true - if I want to know how strong my seed is, and if I want to sell it, I need to know it's germination percentages. A germination test is simple stuff, you are simply germinating 10, 50, 100, 150 seeds to get an accurate percentage.
It is perfectly accurate to germ test 10 seeds and get an easy result. If only 8 germinate, you have 80%, 2, you only have 20% - not acceptable. To be acceptable, it needs to be 70% or above. Most tomato seed is much higher than that - and some of mine has been, a few have not. Even low germ seed can still give you thriving plants - the seeds are just not sellable, but you will learn what ever you did during the process that resulted in a low germ.
Here are some ideas of why low germination happens.
1.) Sometimes, in the bottom of a bucket, there would be a squished green tomato or two that spewed their seed all over the others. I took care to remove them as they might not be ripe. How do I know? If the seed is not viable, it floats. So during its water bath, the good seed, with a viable embryo inside, sinks quickly to the bottom while the other light, non-viable seed, is still swirling around in the water. Out it goes with all the other debris in the water. Repeating this many times assures the seed you save is viable.
2.) If the tomato (the fruit) was frozen or slightly frozen before the seed was saved, it may not be viable.
3.) If your seeds dried out during the fermenting process you can have non-viable seed, because they can try to sprout before they dry up and then it wastes the embryo. Re-hydrating them can work if you catch it in time.
4.) If the tomatoes are not fully ripened, they could produce non-viable seed.
5.) Dried seeds get overheated over a long period of time or fluctuating temperatures adversely affected them.
How To Perform A Germ Test:
Traditional Paper Method:
Use horticultural germination paper OR paper towels or other similar papers to germinate 10 - 100 seeds. Spread them out evenly - no touching so you can easily count them. Make a block of 10 X 10 of seeds to keep a group of 100 organized. Fold the ends and roll up the paper like a big cigar - it will be big for peas but smaller for tomatoes, wet it, and store it in an open plastic bag. (You can wet the paper first.)
Check it after a few days and then again regularly until germination occurs. Wait until you think they are all germinated. Unroll the paper and count how many seeds germinated. Do your math and you have your percentage.
Traditional Soil* Method:
Sow seed in a soil-less seed-starting medium, counting out 10-100 seeds and arranging them to not touch so it's easier to count. Write down how many seeds you sow for each variety - I do this right on the seed packet. Mark each group of seed carefully in the flat. Lightly cover with medium and press with the flat of your hand. Seed to soil contact is essential for good germination. Water and cover the flat with plastic - I use produce bags because they float but Wes recently instructed me to use newspaper and pull it off the minute they germinate - he's cured any damping off with this method. Covering the flat is important in our dry climate to keep the growing medium steadily moist.
When your seeds germinate, give them 3 - 10 days - and then count them and match them up to your notes - do your math and you will have your percentage. Many great minds agree that the soil method is the best and most accurate. It is my preferred method because I do not want to waste precious, high-altitude seed. With the soil method, you can continue to grow out the test seed and use the plants.
Wes also soaks the tomato and pepper seeds in warm water from a few hours to a day or two so they sprout faster when he plants them. I germinate on the propane stove, oven or heater - with the pilot light. Tomatoes like warmth to germinate. 75-80 degrees is just right.
*Note: - I use a soil-less medium to prevent damping off disease and other soil-borne diseases. Using an earth soil potting mix is appropriate for 'teenagers' - young transplants - they are stronger then and can handle it. Infants need to be in something clean.
My Soil-less Seed Starting Medium:
Coir
Perlite
Diluted Liquid Kelp
Soak the coir with Liquid Kelp solution - follow directions for amounts on the package. Cut it with perlite - more or less - I use 1/3.
That's it.
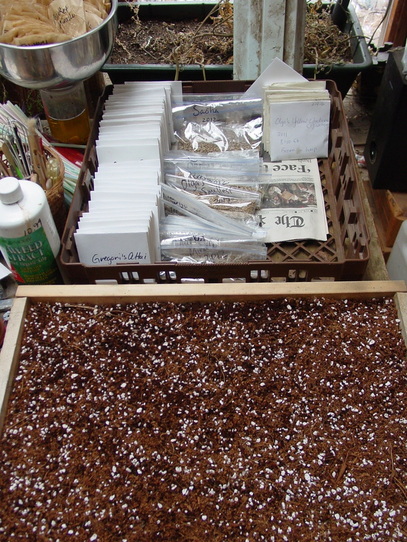
Ready to Germ Test! Many great minds agree soil is a more accurate way to test.
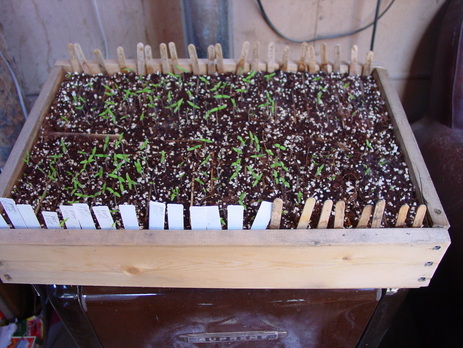
Germination! Warming on the propane heater.
I germinate my flats on anything that has a pilot light. In this case, it is on the heater in the living room - next to the couch. As you can see, they all come up a little differently and in their own time. Soon I will have my results.
I did use Wes's method of covering the flat with moist newspaper until germination, then removing it. I hope it helps with damping off - thanks to Wes of course.
There it is, my giant tomato seed story, I hope you enjoyed it.
I did use Wes's method of covering the flat with moist newspaper until germination, then removing it. I hope it helps with damping off - thanks to Wes of course.
There it is, my giant tomato seed story, I hope you enjoyed it.


 RSS Feed