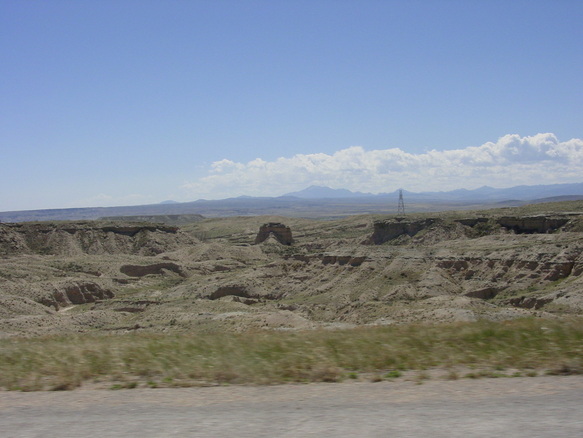
Out the car window.
Cord and I just returned from a whirlwind trip to Wyoming and Florida but first I will start with Wyoming. When we get there - to the Natrona County's Master Gardener's Conference I feel compelled to yell, "We love Wyoming!" and I did it again - couldn't help it. I do love Wyoming - it's right up my alley - beautiful, wild, harsh, and did I say - beautiful? I love it - the people are very open to the garden - very open to trying new things. As a speaker - you sure know when your audience is receptive and up in Casper - the people are trying - with all their mights. Obviously they enjoy hearing us say YES to their world. Yes, to seed saving - it will help your gardens to have seed adapted to harsh, extreme conditions - and yes, seed will even adapt to wind. Yes, you can save seed here, yes, you can grow food here and yes, you can create your own seed collection.
The event is well organized by our now new friend Fawn who brought us in last year for high-altitude veggie growing. First we present for an hour and listen to the other speakers and then we move into seperate rooms for Break-out Sessions where we answer questions and do demo's, share books and learn anything else needed for 2 -1.5 hour sessions. We squeezed tomatoes, threshed seed, handled seed, sniffed seed and eventually, shared some - I had to - seed is powerful and people are so attracted to it. Pretty soon everyone in Casper is going to have free food in the form of re-seeding Orach (Mountain Spinach), Giant Dill, plus my favorite - Cottage Red Marigold will be volunteering in many gardens. Good thing as it is a beautiful, multi-branching long-stemmed red marigold - woohoo!
When it's over we go out for burgers and beers with Fawn and her husband Sean - a lovely way to unwind.
I love the event, I love the people, I love the hosts - thank you Casper, we learn as much as you - maybe more! - and we come home feeling joyful.
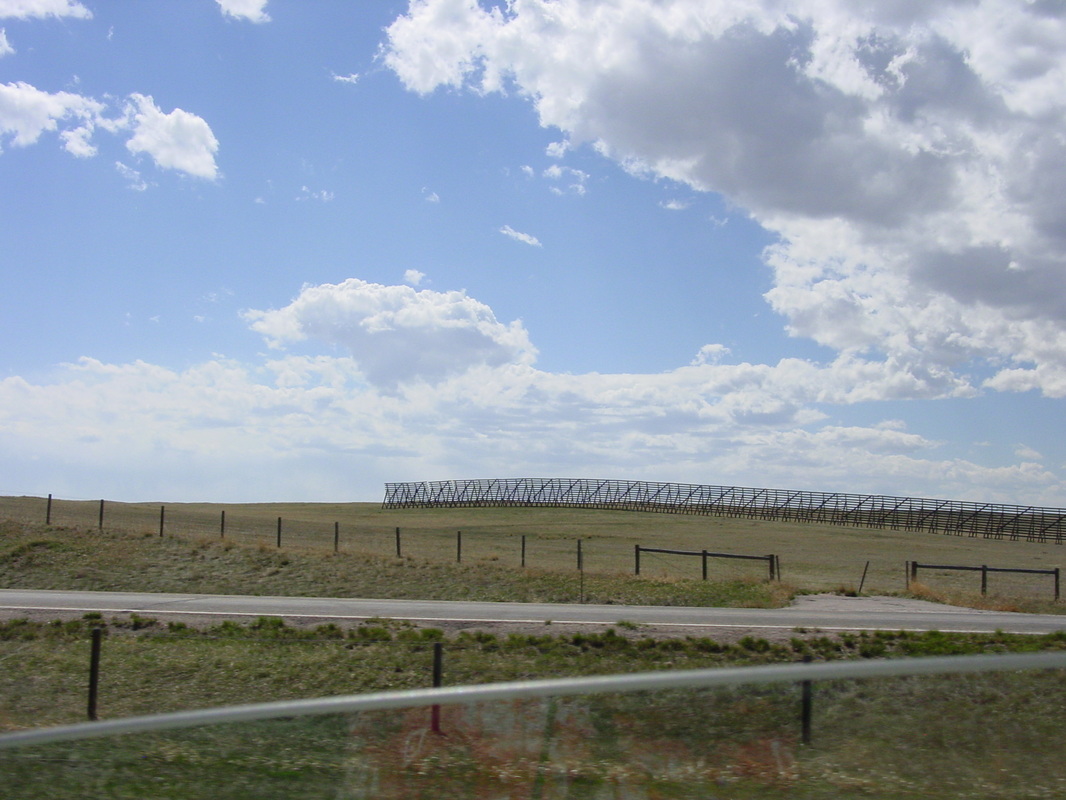
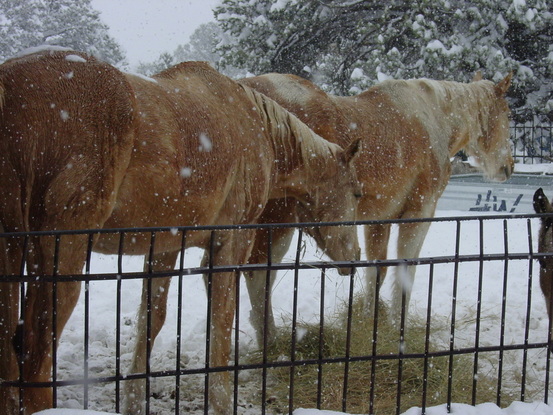
Snow fence.
| 
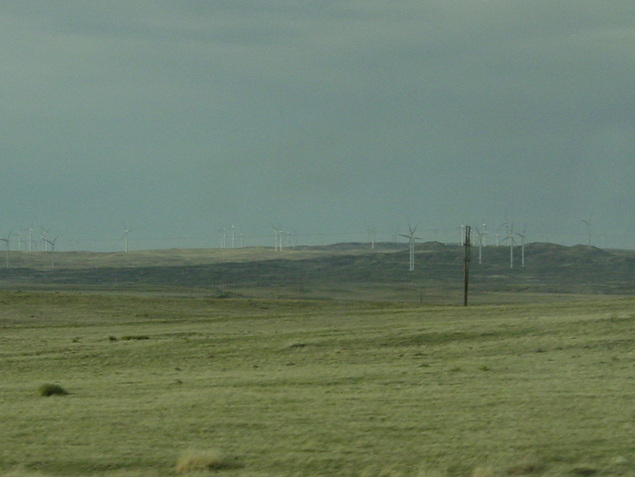
Wind professionals.
|
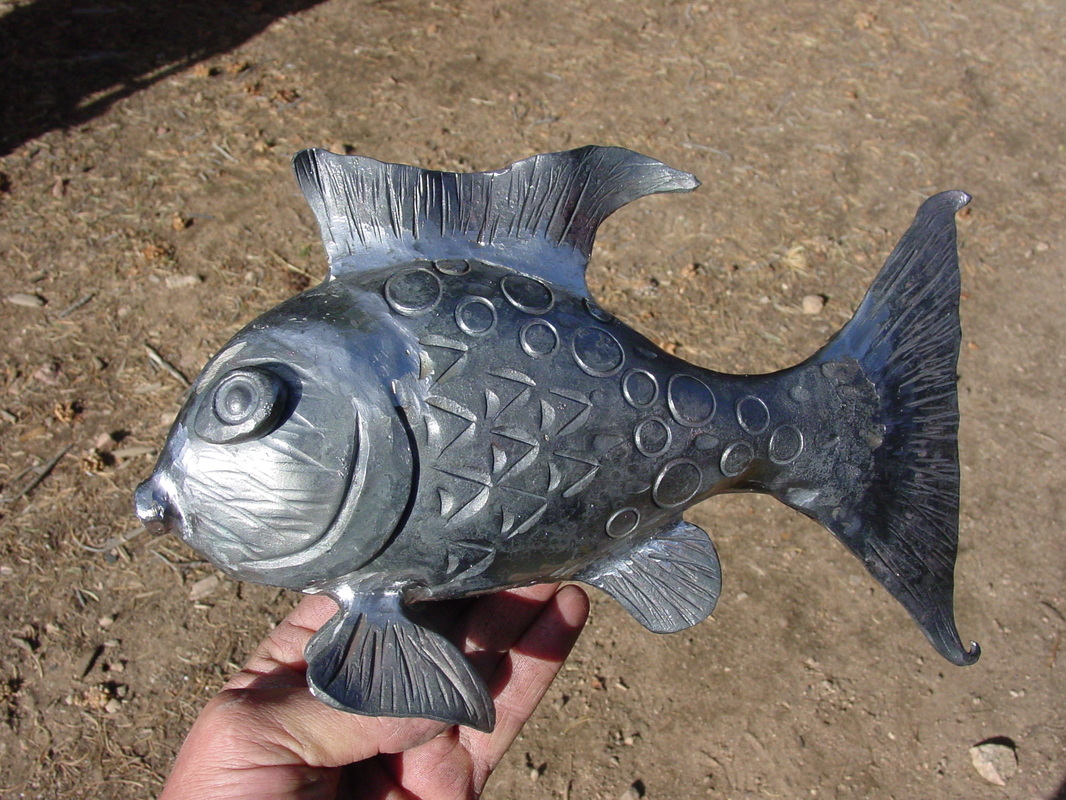
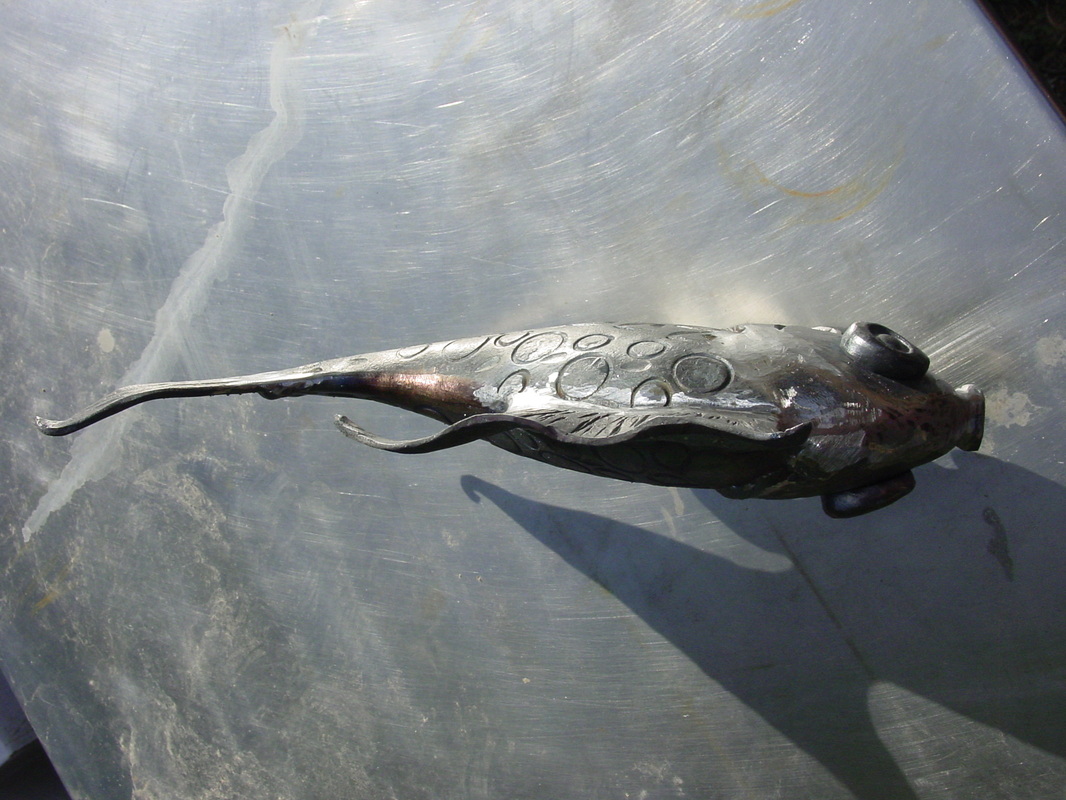
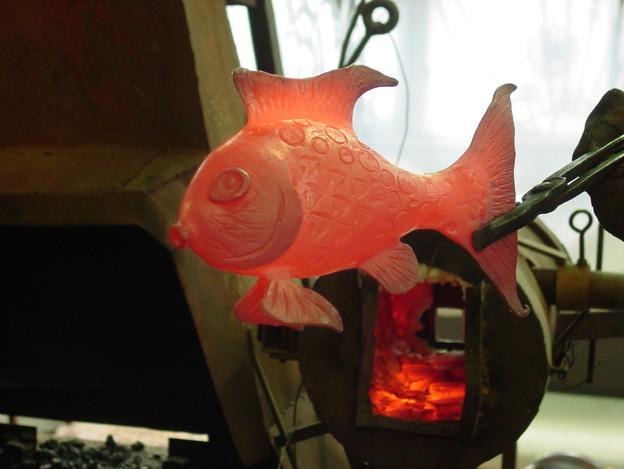
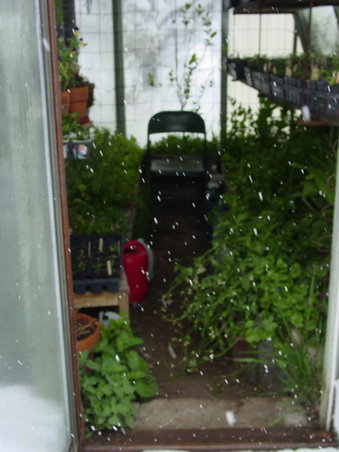
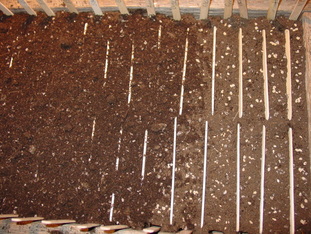
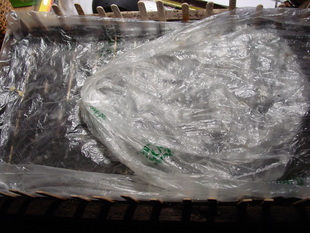
Aquaponics
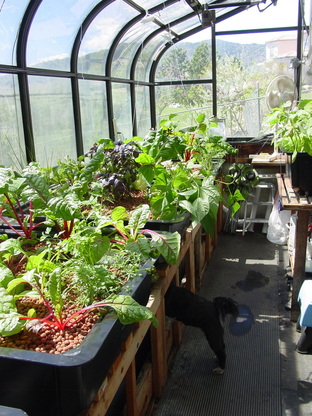
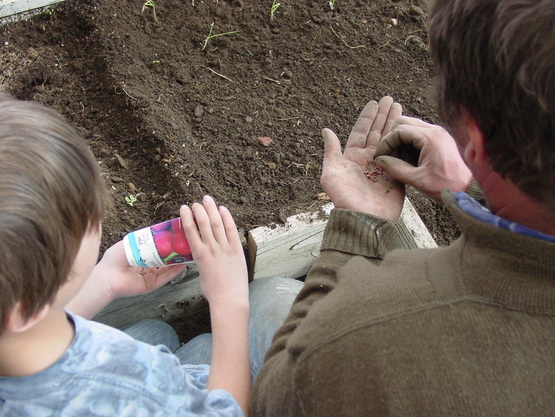
Lulu inspects the fish. More pics of this in the next blog.
But there was more. Lots more. I laced the trip with other learning experiences and boy did they deliver - we saw incredible things and met incredible people - I have to report.
On the way up we stopped in Boulder to tour Sylvia Bernstein's Aquaponics system - yes, that's right - the author of Aquaponic Gardening and founder of the AquaponicsSource. Since our next gig after this was an Aquaponcs training session - we needed to see it in action. Of course, it was wonderful, beautiful! Sylvia's husband Alan gave us a splendid tour and explained everything in great detail. We loved all of the systems that use and emulate nature - it's what aquaponics is. (If you don't know yet, Aquaponics is a totally organic, closed-loop system that grows fish and vegetables together.) From gravity to worm poop, aquaponics is a smart alternative to chemically laden hydroponics and oh yeah, it provides another healthy crop - clean fish!
Sylvia obviously has a knack - I could see that instantly, everything was vibrant ad healthy, diverse and abundant. What more could you want? While Alan and Cord talked after the tour, I looked around Sylvia's beautiful yard, following paths into the trees to find a gazebo and water features and quiet places. I loved it, and felt at home amongst the rocks and trees. Like I said, she has a knack. That visit started us off, it was great to see it up close like that.
Into The Wind
Welcome to Wyoming.
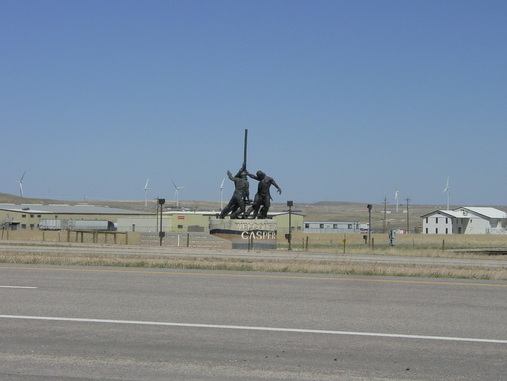
These guys are ripped!
From there we sped north to Casper - for dinner with the Master Gardeners at 6pm. We made it in the nick of time - with me taking pictures of fields of oil wells and wind farms. You can see the wind turbines from miles away and they still look like giant trees off in the distance. Wyomingites are cool - they use what they have - oil and wind. We saw homesteads tucked in the crevices, arroyos and hills, safe from the wind, blowing right over the top of them. Above on the plateau, the sagebrush bears the brunt of it, sheltering smaller plants that all help each other tie down the soil. These plants have adapted to Wyoming's harsh reality and they show us also how to adapt. It was perfect for the topic of saving and adapting seeds, which we went there to teach.
After a wonderful event, we got to sleep in, and head to Cheyenne to meet Shane Smith, author of the Greenhouse Gardener's Companion and director of the Cheyenne Botanic Gardens. We had tried to meet him last year but he was away. We decided to wait another day to meet him on Monday - even though we had to leave for Florida on Tuesday at the crack of dawn.
After a wonderful event, we got to sleep in, and head to Cheyenne to meet Shane Smith, author of the Greenhouse Gardener's Companion and director of the Cheyenne Botanic Gardens. We had tried to meet him last year but he was away. We decided to wait another day to meet him on Monday - even though we had to leave for Florida on Tuesday at the crack of dawn.
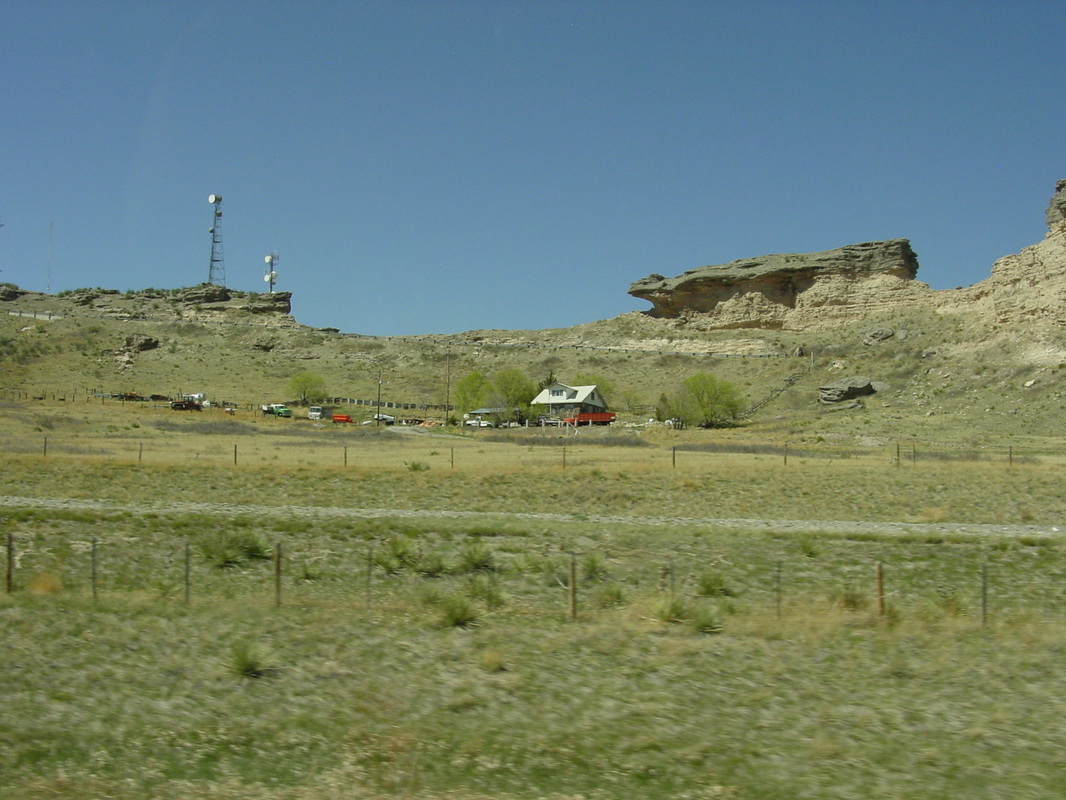
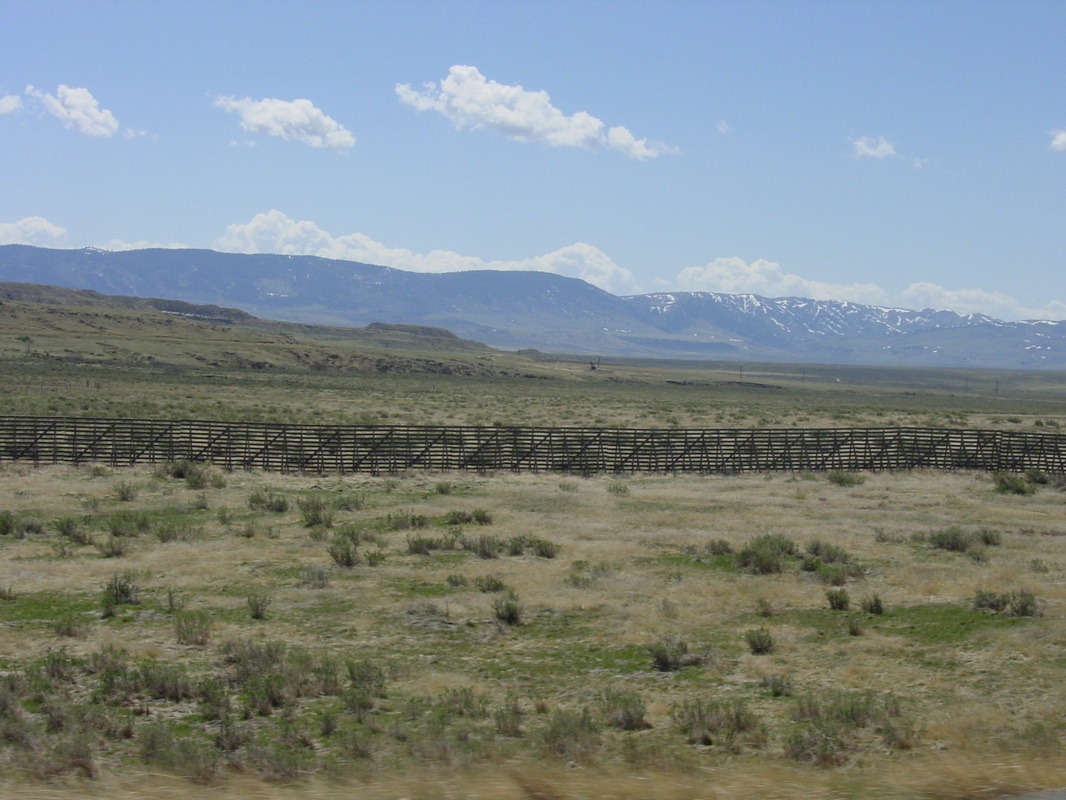
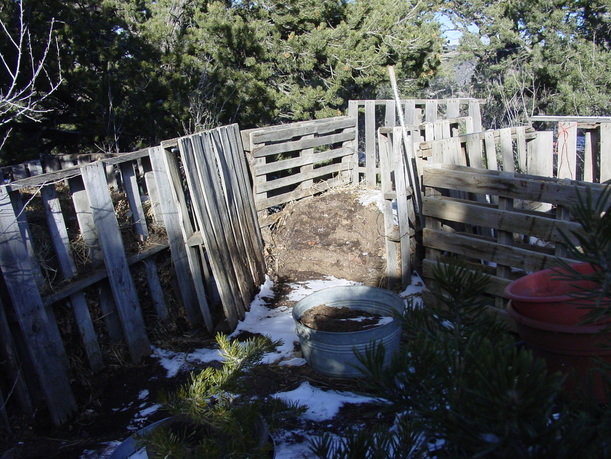
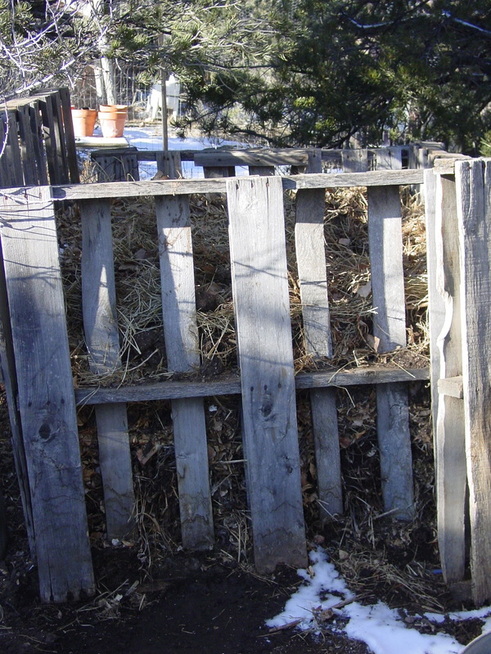
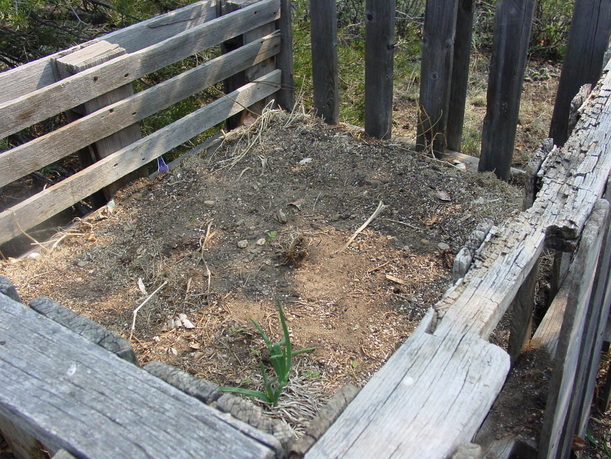
Tucked in.
| 
Protected from the wind.
|
The USDA Horticultural Research Station

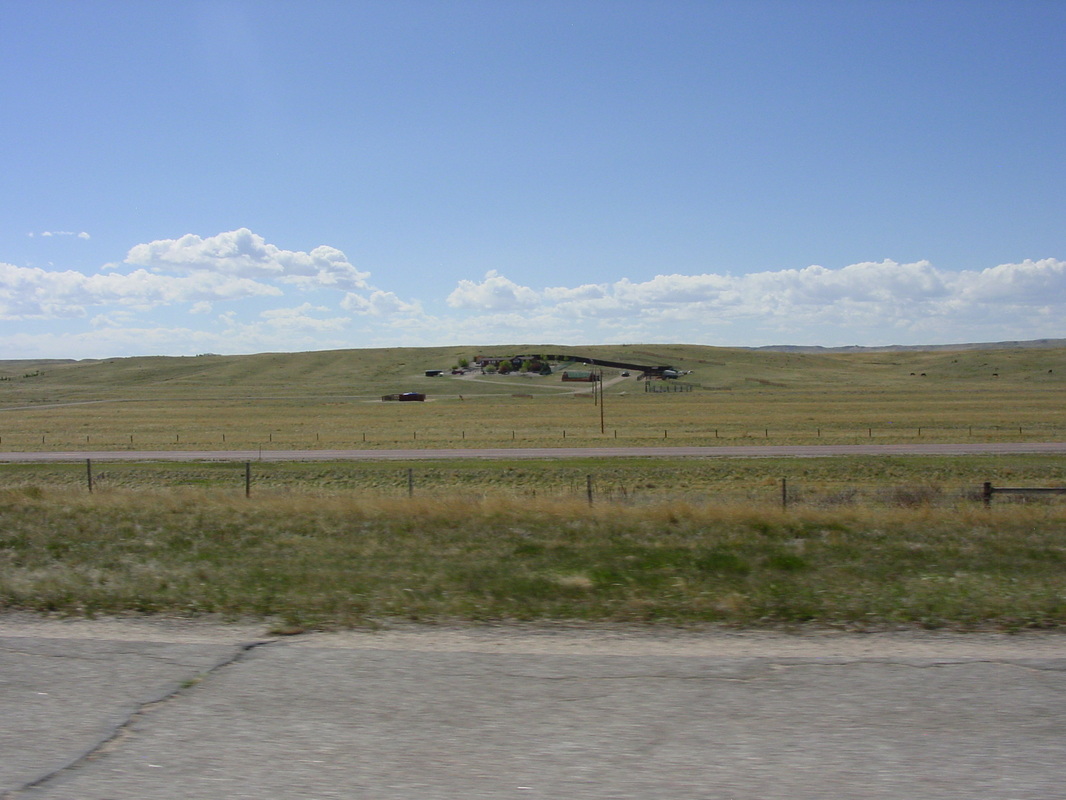
Such a place.
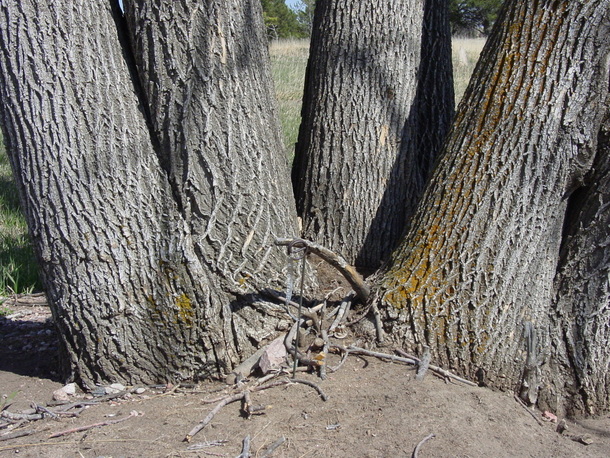
On the way home we had more adventure. Our first stop was in Cheyenne at the USDA Horticultural Research Station. We went to the Station on Sunday and I didn't want to leave. I was out of my tiny mind - and yes, I had to cry - just a little. This place is magic - it's a very old experiment, a research station intended to test hundreds of varieties - trees and shrubs, in the wild and free of the Wyoming wind and cold. They were planted from the 30's to the 50's, rows and rows of hundreds of varieties. Then suddenly, in the 50's, the money dried up and it was totally abandoned.
Today, the experiment is evident - what survived? Which plants could handle 60 years of all Wyoming has to offer? - (The top spot in the country for hail which often comes from golfball to baseball sized). We've all heard of the wind in Wyoming and whatever is left growing there now - in all it's wild glory - are the varieties we need to grow in the wild, wild west. And there are people working on it.
Today, the experiment is evident - what survived? Which plants could handle 60 years of all Wyoming has to offer? - (The top spot in the country for hail which often comes from golfball to baseball sized). We've all heard of the wind in Wyoming and whatever is left growing there now - in all it's wild glory - are the varieties we need to grow in the wild, wild west. And there are people working on it.
Glorious.
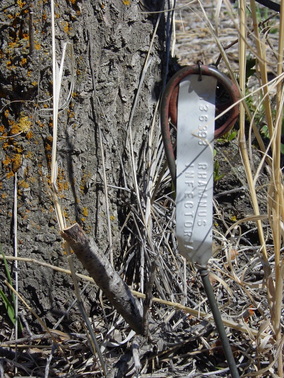
Original markers.
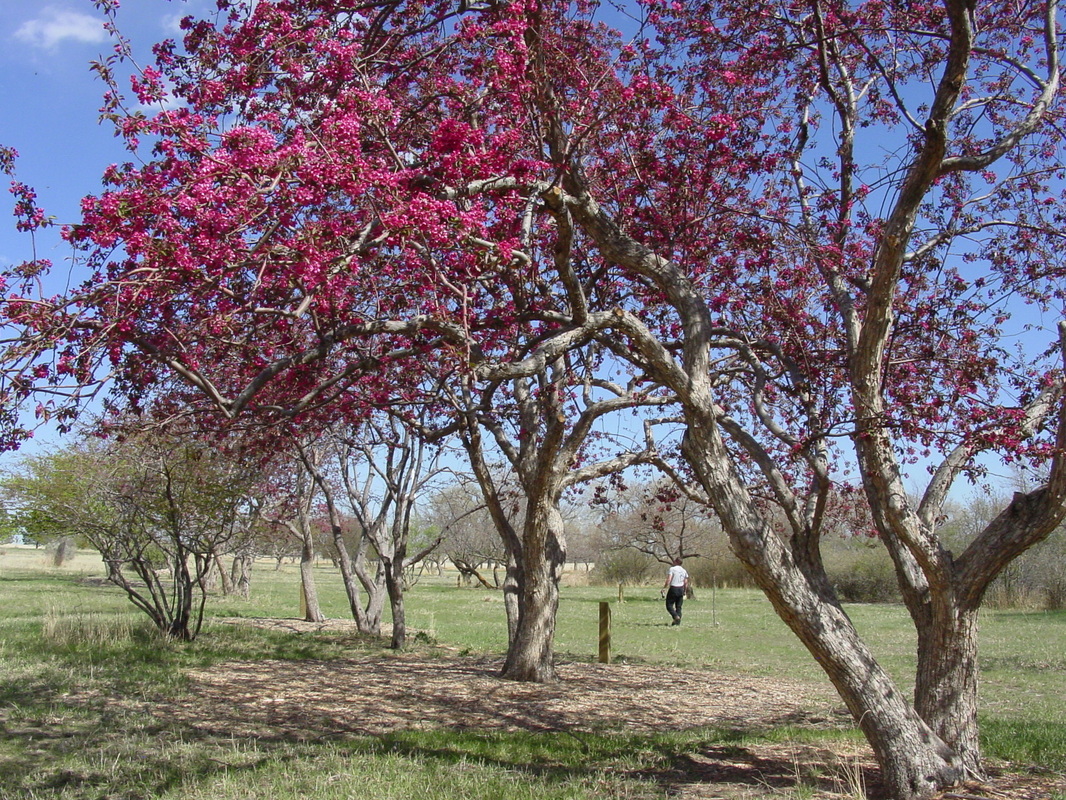
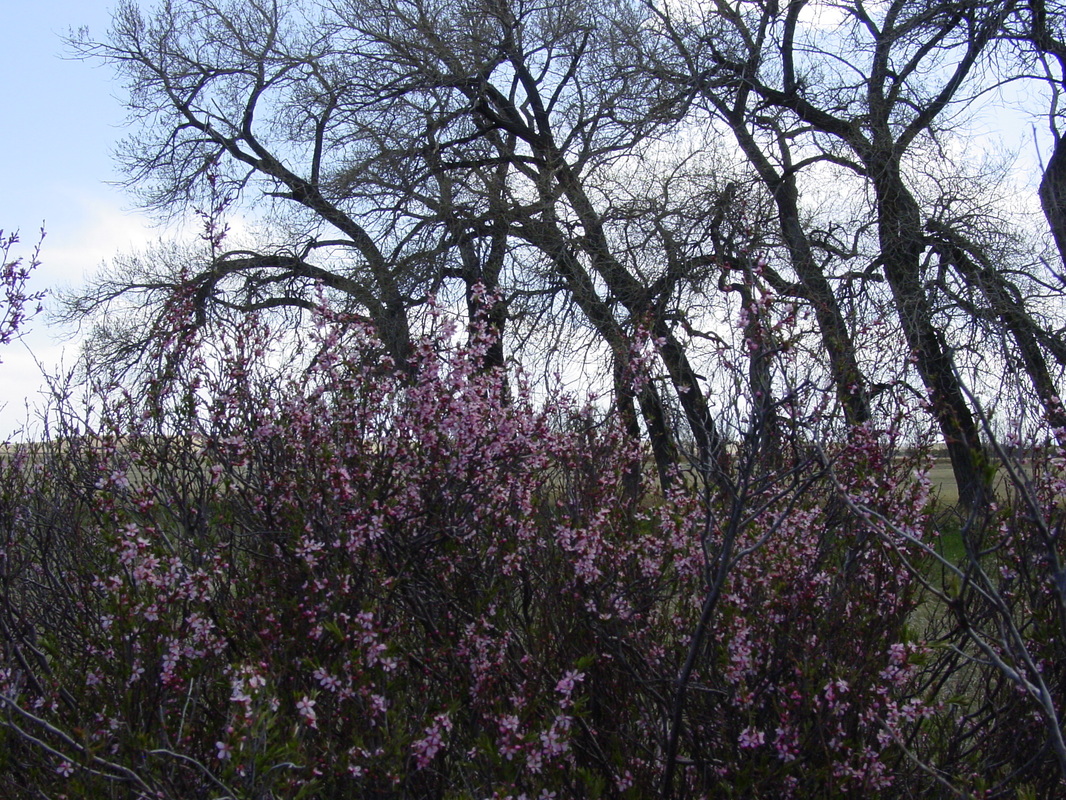
Shane Smith is one of them. There are old and new markers under every tree and shrub and we walked and walked looking at giant flowering trees and shrubs - many just about to burst as well. It was so interesting to see the rows, with more missing than survived, but often the mounds of where they were still exist.
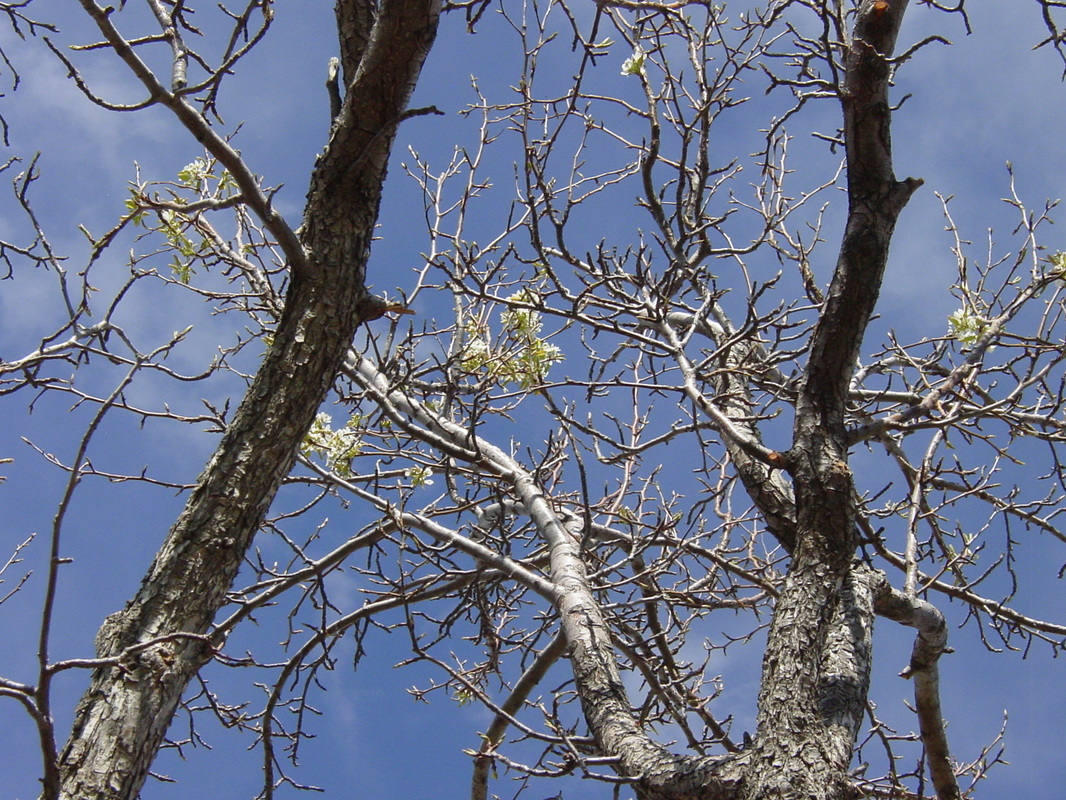
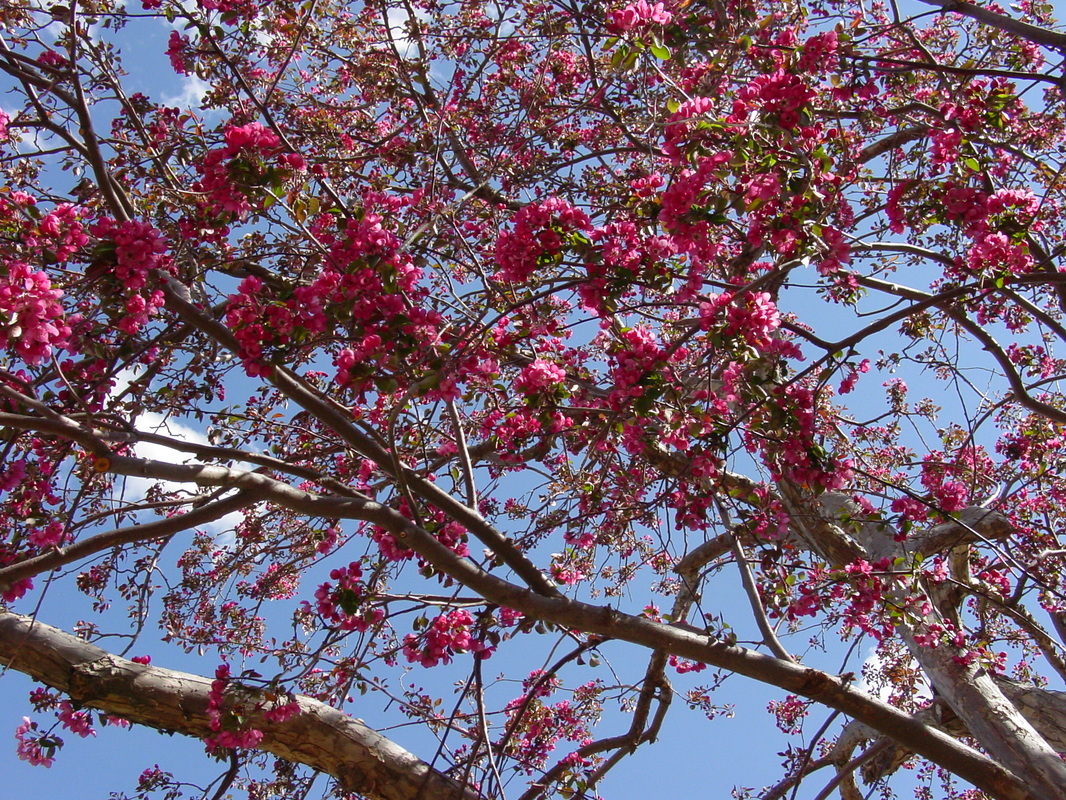
When I saw the flowering crabs just inside this forest of lost varieties, I was truly in awe. Deep pink, huge flowers and 20 feet tall, with several in a row, it was intense.
It was early for blooms in Cheyenne but like most places, the season is early so we were lucky. I took pictures of almost-dead shrubs, with delicate blooms deep inside or way up high as the plants are not all pruned yet. I didn't care, it is beautiful, it is alive.
Every tree was special - marked with the original metal marker from the 30's. Our friend Scott Skogerboe knows a lot about the history of the plants there. He told us amazing stories of where they came from.
We went to our hotel energized and ready to see the next thing.
When you are planted in the 30's, you get bigger than your metal marker.
It's alive!
| 
Color in the sticks.
|
We didn't want to leave...
I really didn't want to leave.
On To The Cheyenne Botanic Gardens!
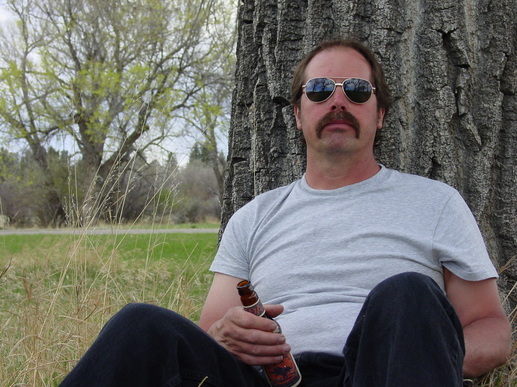
Cord was so happy.
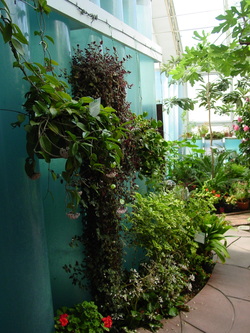
The entrance.
| 
Fiberglass tubes of water.
|
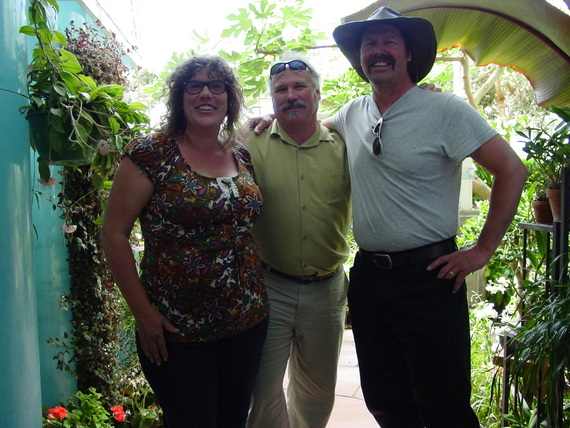
That's THE Shane Smith!
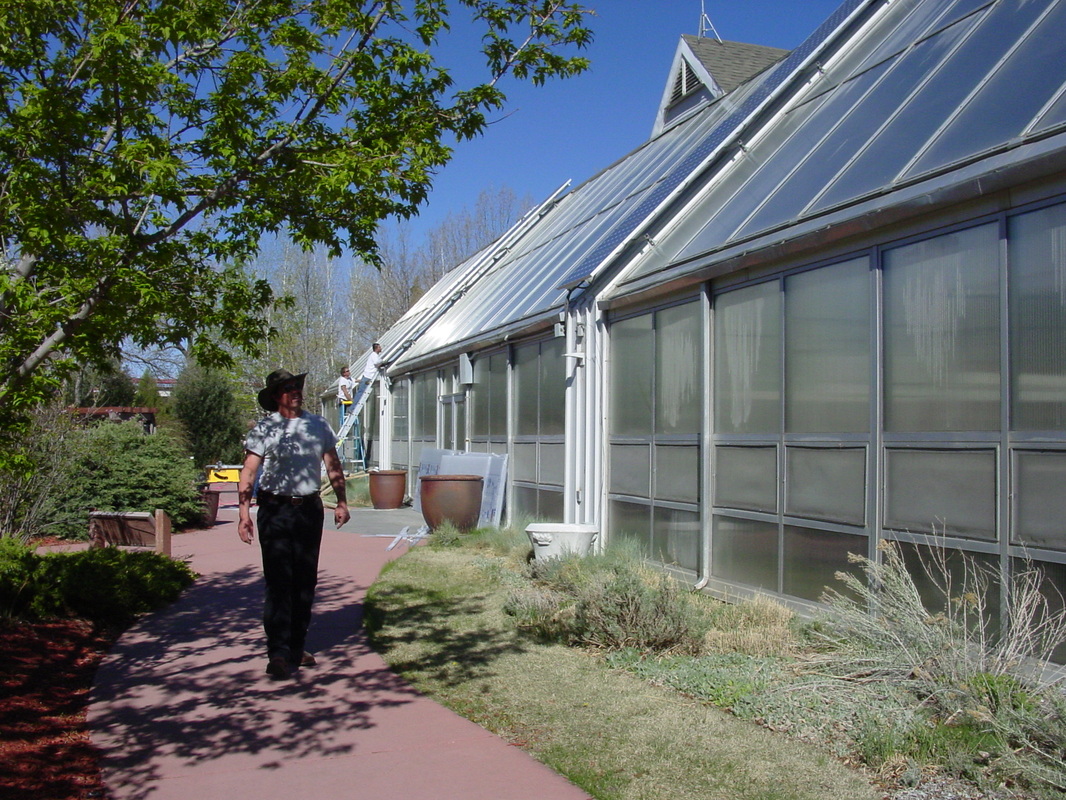
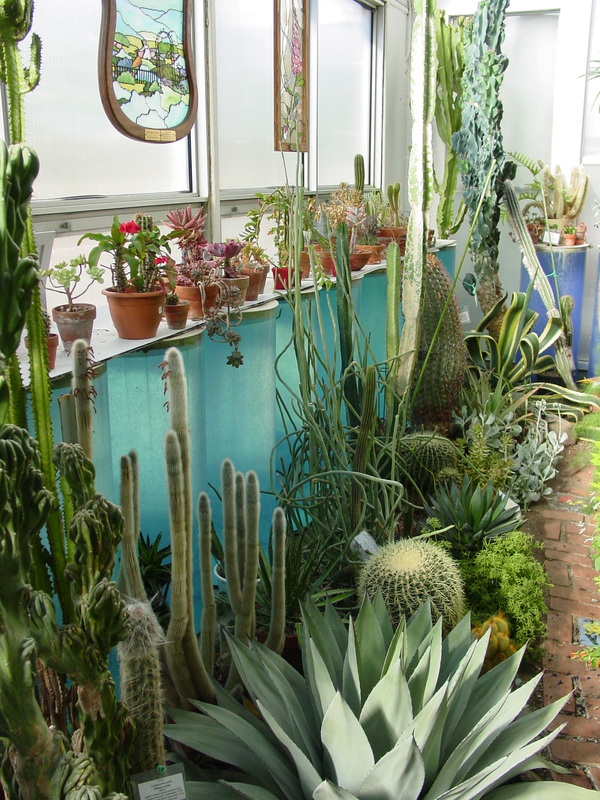
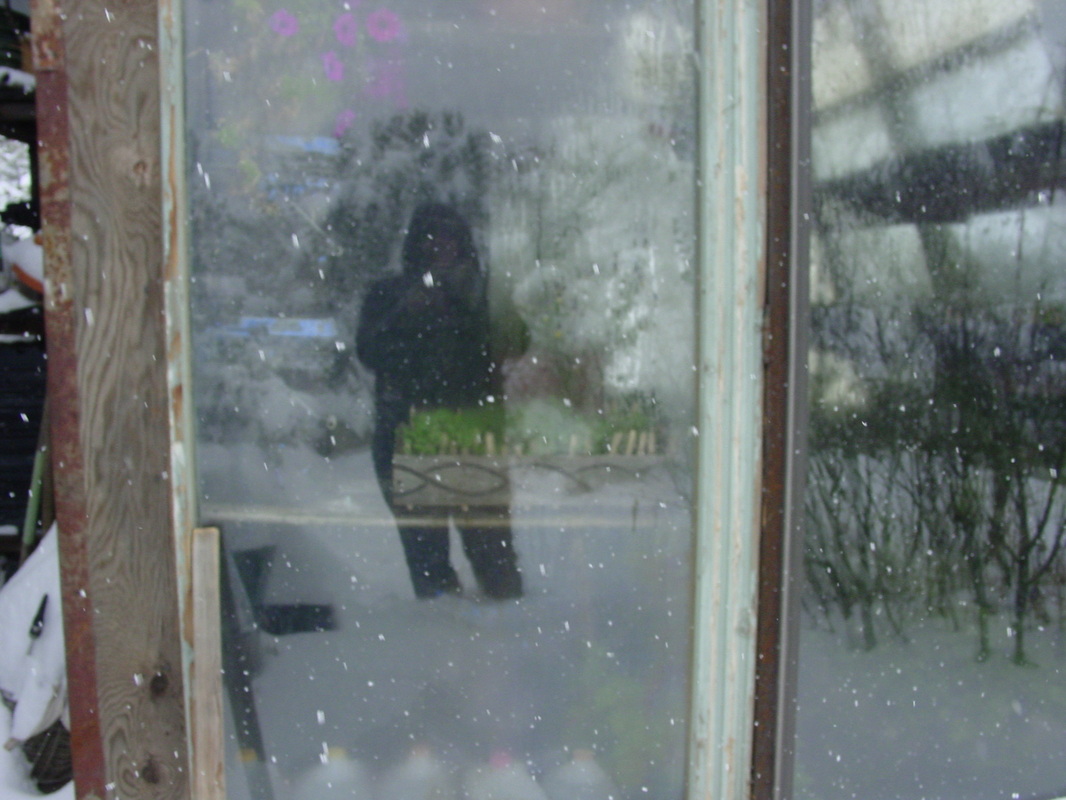
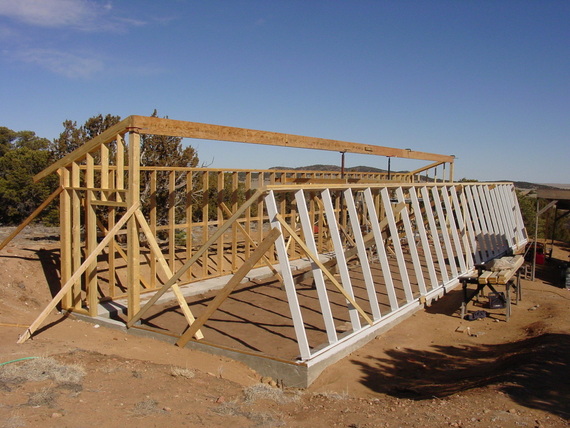
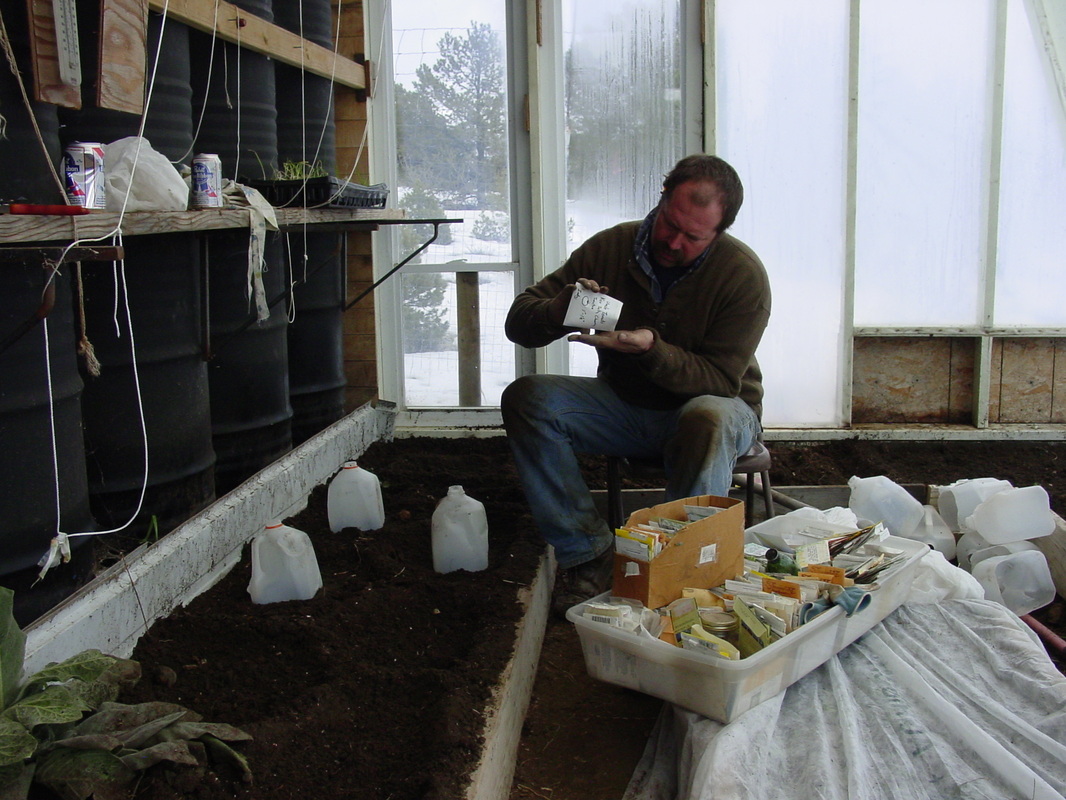
The next morning we woke up raring to go to the Botanic Gardens to see the greenhouse and to finally meet Shane Smith. I am truly star-struck around someone like him. We got there and after a brief search, found him and had the best tour and visit. He even sat down and looked at our greenhouses - he was so kind to do so. We had a great learning tour and were thrilled to find answers to many questions, Shane was totally generous with information. Huge hail had damaged the poly on the roof so workers were fixing it. Cord hung out with them for a while of course too. I was so happy to see all of the stored water and had to touch the barrels of water - covered in beautiful flowering plants. There are also very tall, clear fiberglass tubes that hold water too - gorgeous to my eyes. Shane told me he was friends with Bill Yanda, author of The Food and Heat Producing Solar Greenhouse and the book that changed our lives. We are huge fans of Bill Yanda and only learned a year ago that he died young. This book enables you to build a totally sustainable greenhouse. This is how we learned. It was so cool to hear Shane talk about that time - when they were building smart, totally sustainable greenhouses all over the southwest.
And then he signed my book. (!!!!!!!!!!!!!!!!!!!!!!!!!!!!!!!!!!!!!!) Shane is an awesome person - you can tell right away - and he took way too much time just to make us feel welcome, thank you Shane, very cool.
We drove home stimulated but happily tired. It was quite late when we got there, and we had to unpack, repack and leave at 3am for Florida. I only got one hour of sleep that night - no way to start another adventure.
That story will be the next post - this one was super long - hope you enjoyed it - there was so much to see!
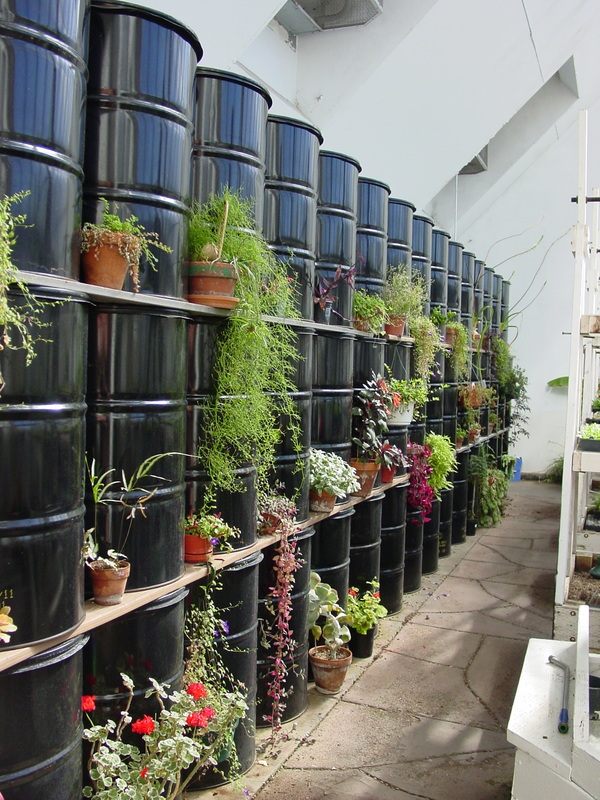
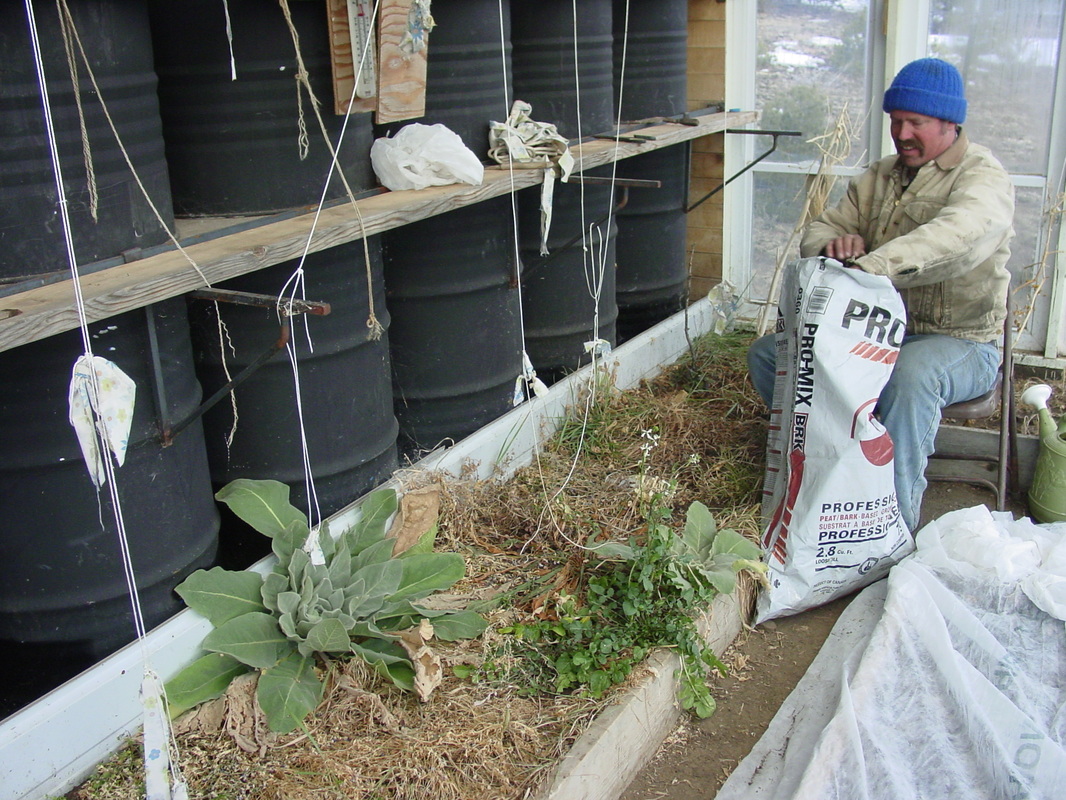
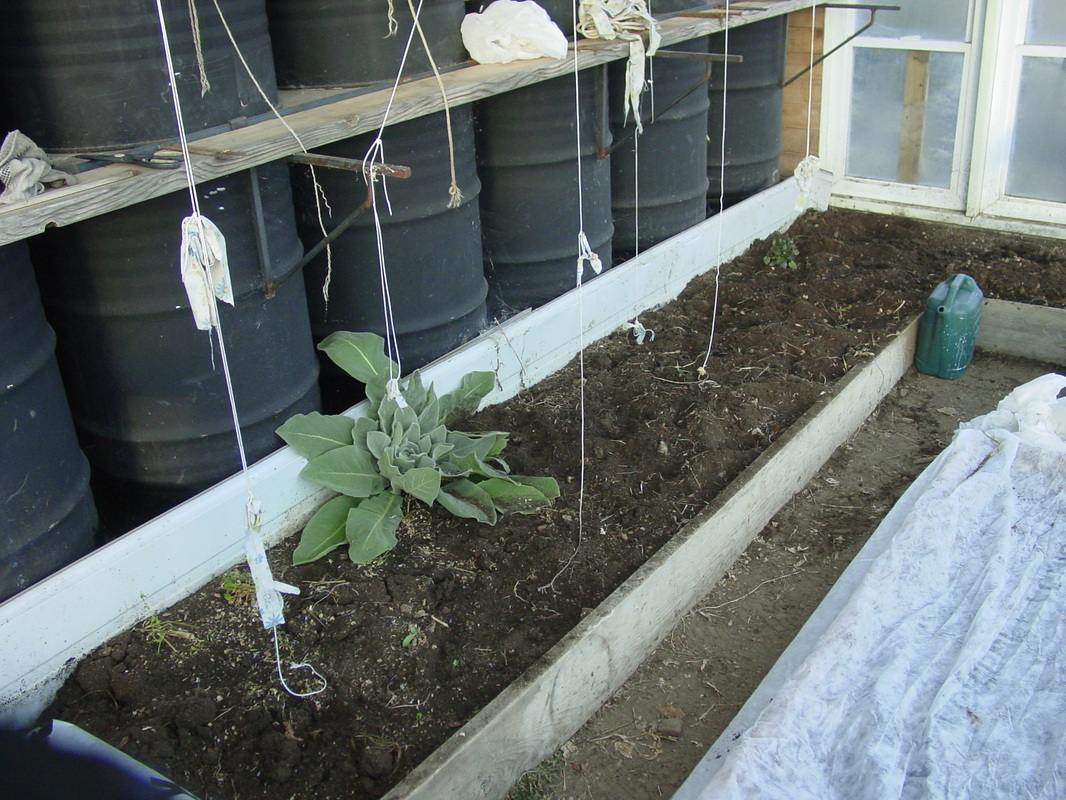
What a glorious sight - barrels heating and cooling the glorious greenhouse.
| 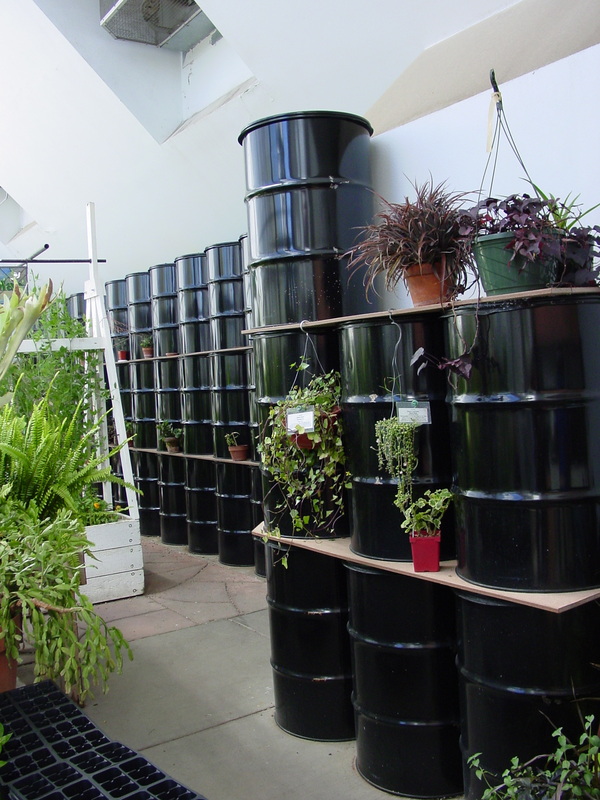
"Batteries" lining the north wall.
|
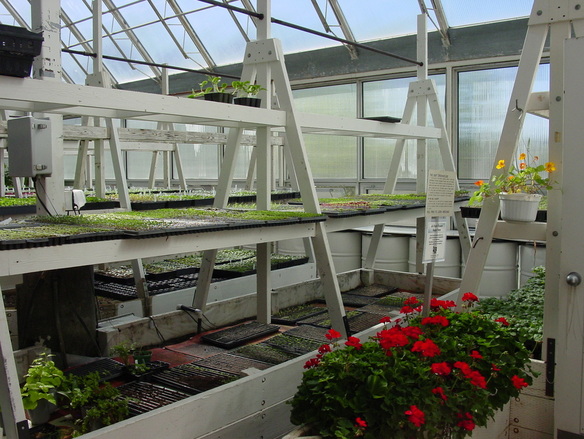
This greenhouse provides all of the bedding plants for the entire town of Cheyenne!! Among other things...
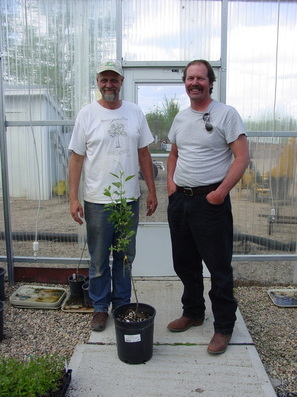
Scott and Cord.
I can't tell who looks happier in this picture. Cord and Scott Skogerboe are in heaven talking apple trees - this one is especially precious. Scott gave us many interesting, and unique varieties, and we were totally in awe.
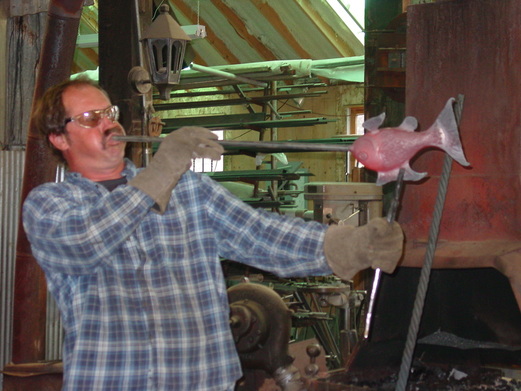
He has a great job, propagating trees and shrubs and his deep love for plants is apparent. He gave us an excellent tour, it was all eye candy to us.
His love for the Research Station is huge as well and he lovingly researches the varieties to amaze us with their stories and to provide us with the history we need to know. He gave me this French lilac - man, it made me cry - which makes him laugh. If you're going to cry over a lilac, you gotta be a plant lover to understand.
This was the very last stop before home, yet when we got there, we had to unload our tiny rental car of trees and shrubs and deliver them into the greenhouse with our headlamps on.
It was quite an adventure.


 RSS Feed